Camp Woolery: Handspun Pillow
Posted by Elizabeth , Amy, Annie on Aug 28th 2023
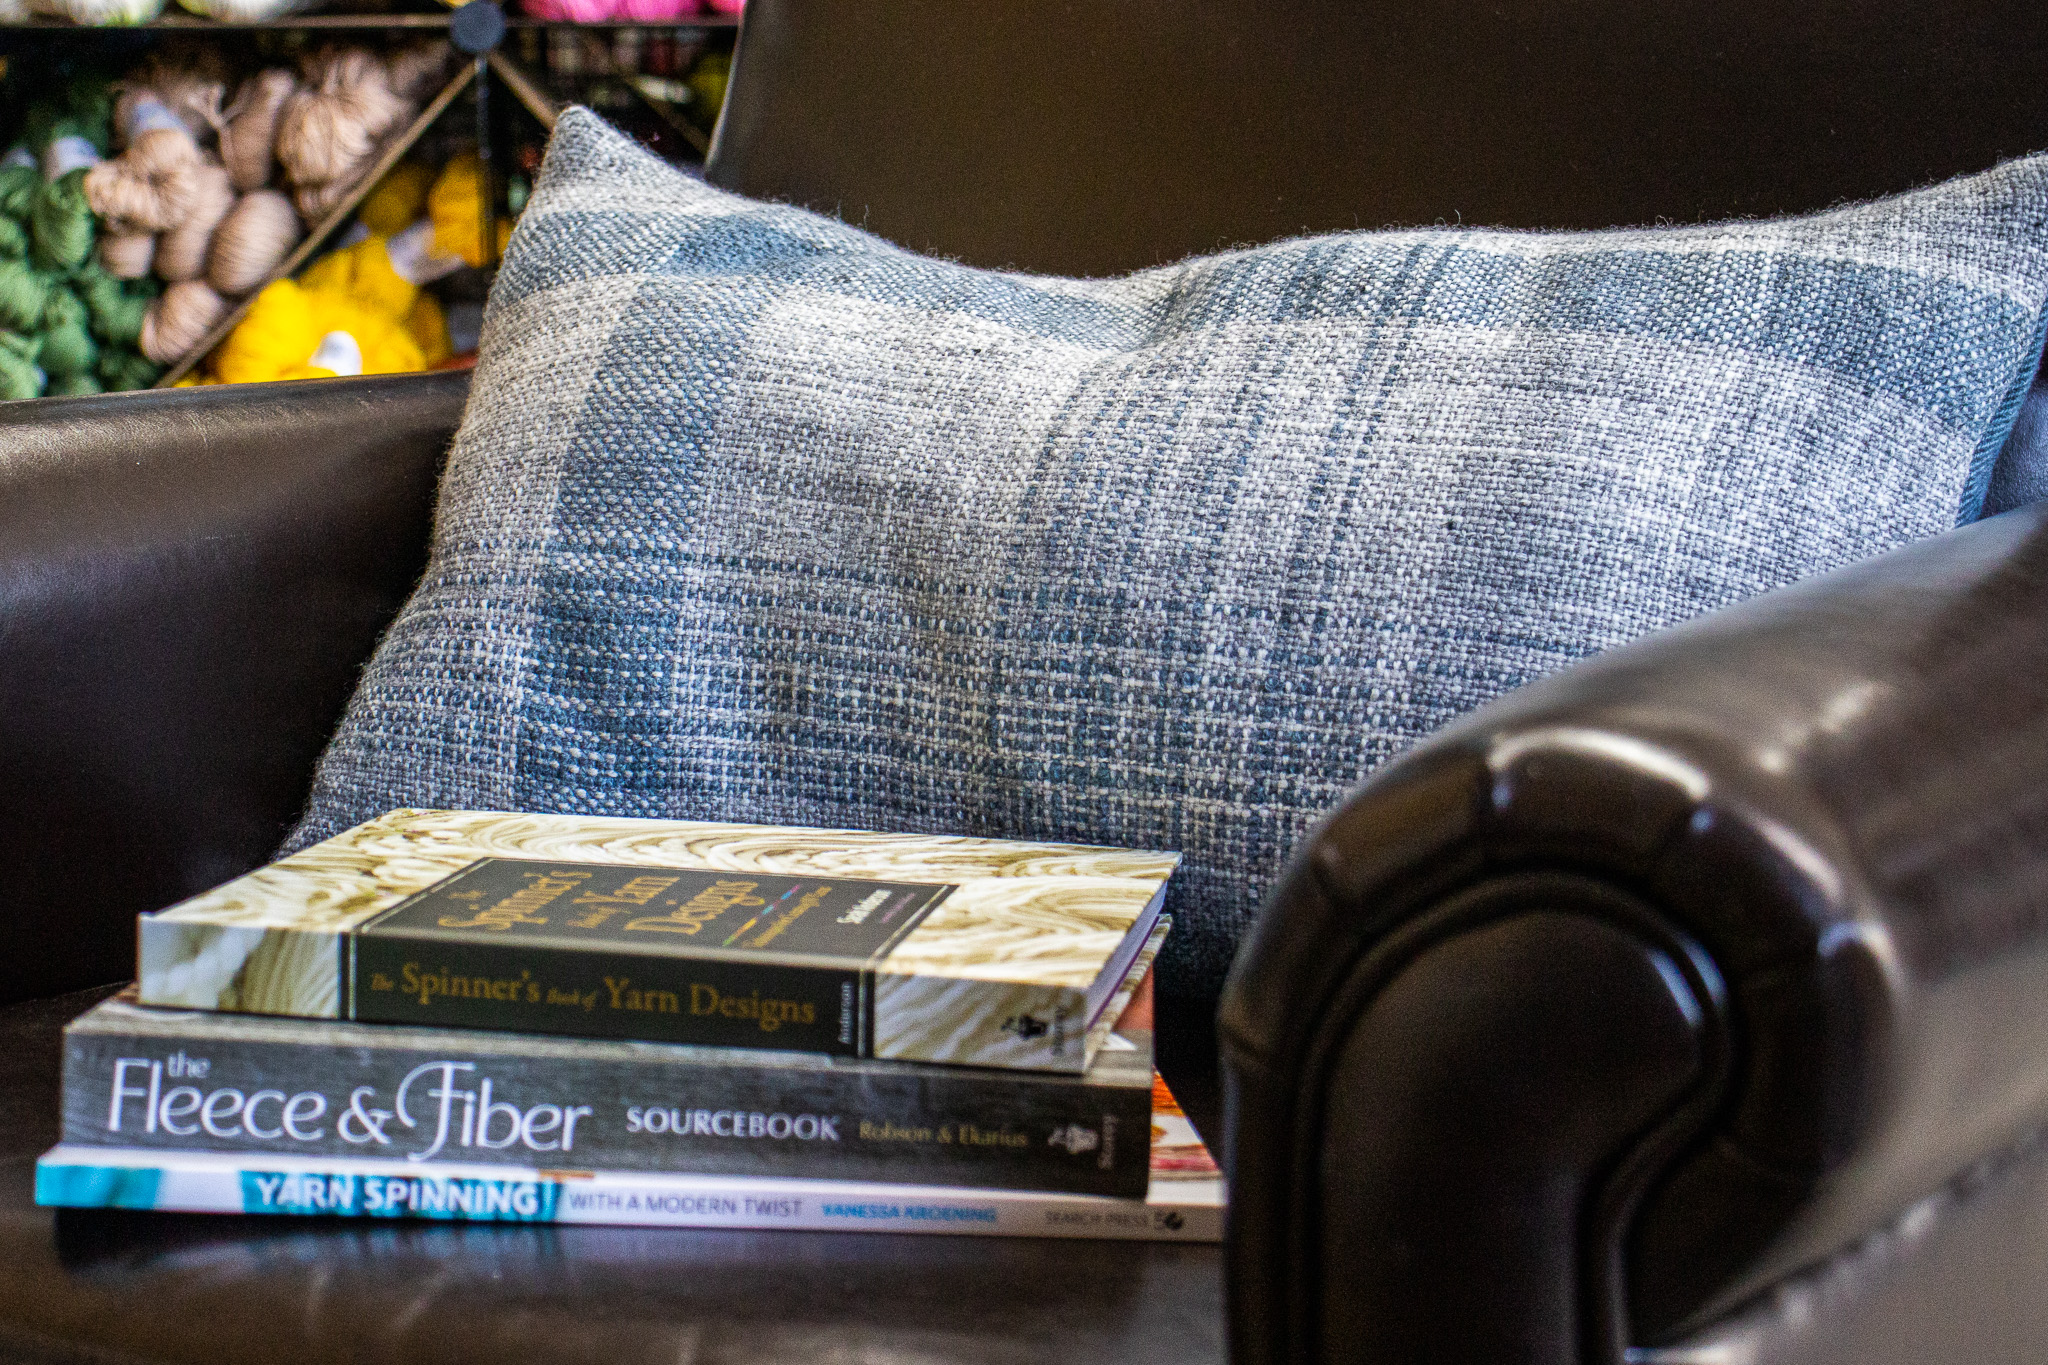
The final step of our Sheep to Sham Camp Woolery event is to use the yarn that Annie spun to make something! Amy took the yarn and decided to make a decorative pillow sham and we have all the details on how to make your own. Don’t worry, if you’re not a spinner, we have an alternate yarn you can use.
Equipment Needed
- For our project, we used a 16 inch rigid heddle loom. You can use whatever width you have but that will determine the size of your pillow.
- 10 dent reed
- Boat shuttle & bobbin or a stick shuttle
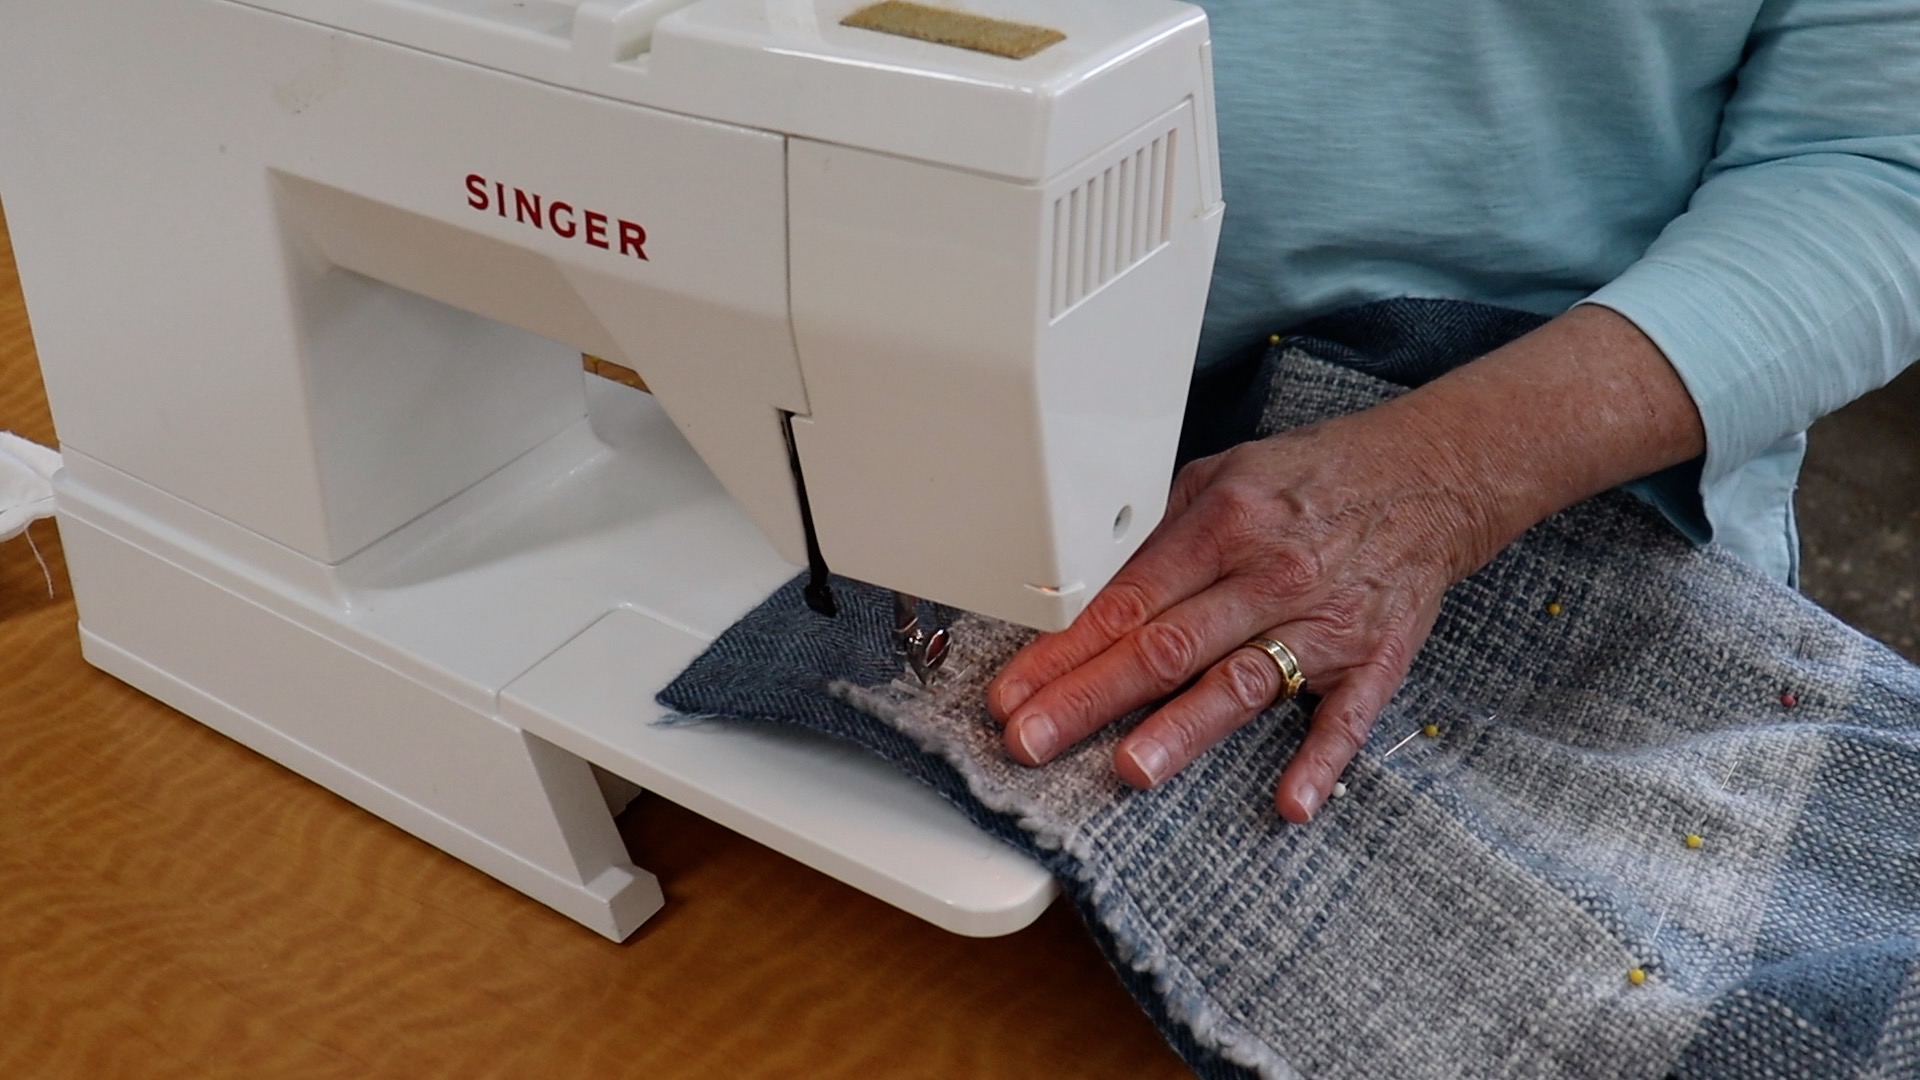
- Sewing machine & matching thread
Other Materials
- We used Weeks Dye Works Hand Over Dyed Wool Fabric, Herringbone - Blue Heron, but you can use any backing you like for your pillow
- We used an approximately 14” x 20” pillow insert; Amy made her own using an old pillow case and we stuffed it with Kapok fiber
Yarns
Warp: 1 skein Tukuwool DK Yarn, H31 Aavaand Merino Natural Stripe Handspun (Yarn Alternative: If you’re not a spinner, you can use another gray yarn in DK weight. We recommend Tukuwool DK, 03 Auri): ~ 326 yards combined total
Weft: Same skein of Tukuwool DK Yarn, H31 Aavaand Merino Natural Stripe Handspun (Yarn Alternative: If you’re not a spinner, you can use another gray yarn in DK weight. We recommend Tukuwool DK, 03 Auri) ~170 yards combined total
Setts
Warp: 10 epi (163 ends total) - started and ended in a hole
Weft: 9 ppi
Dimensions (approximate)
Width in heddle: 16.3”
Woven running length (Off tension): 25”
Finished size (after washing): ~14.25” x 22.25”
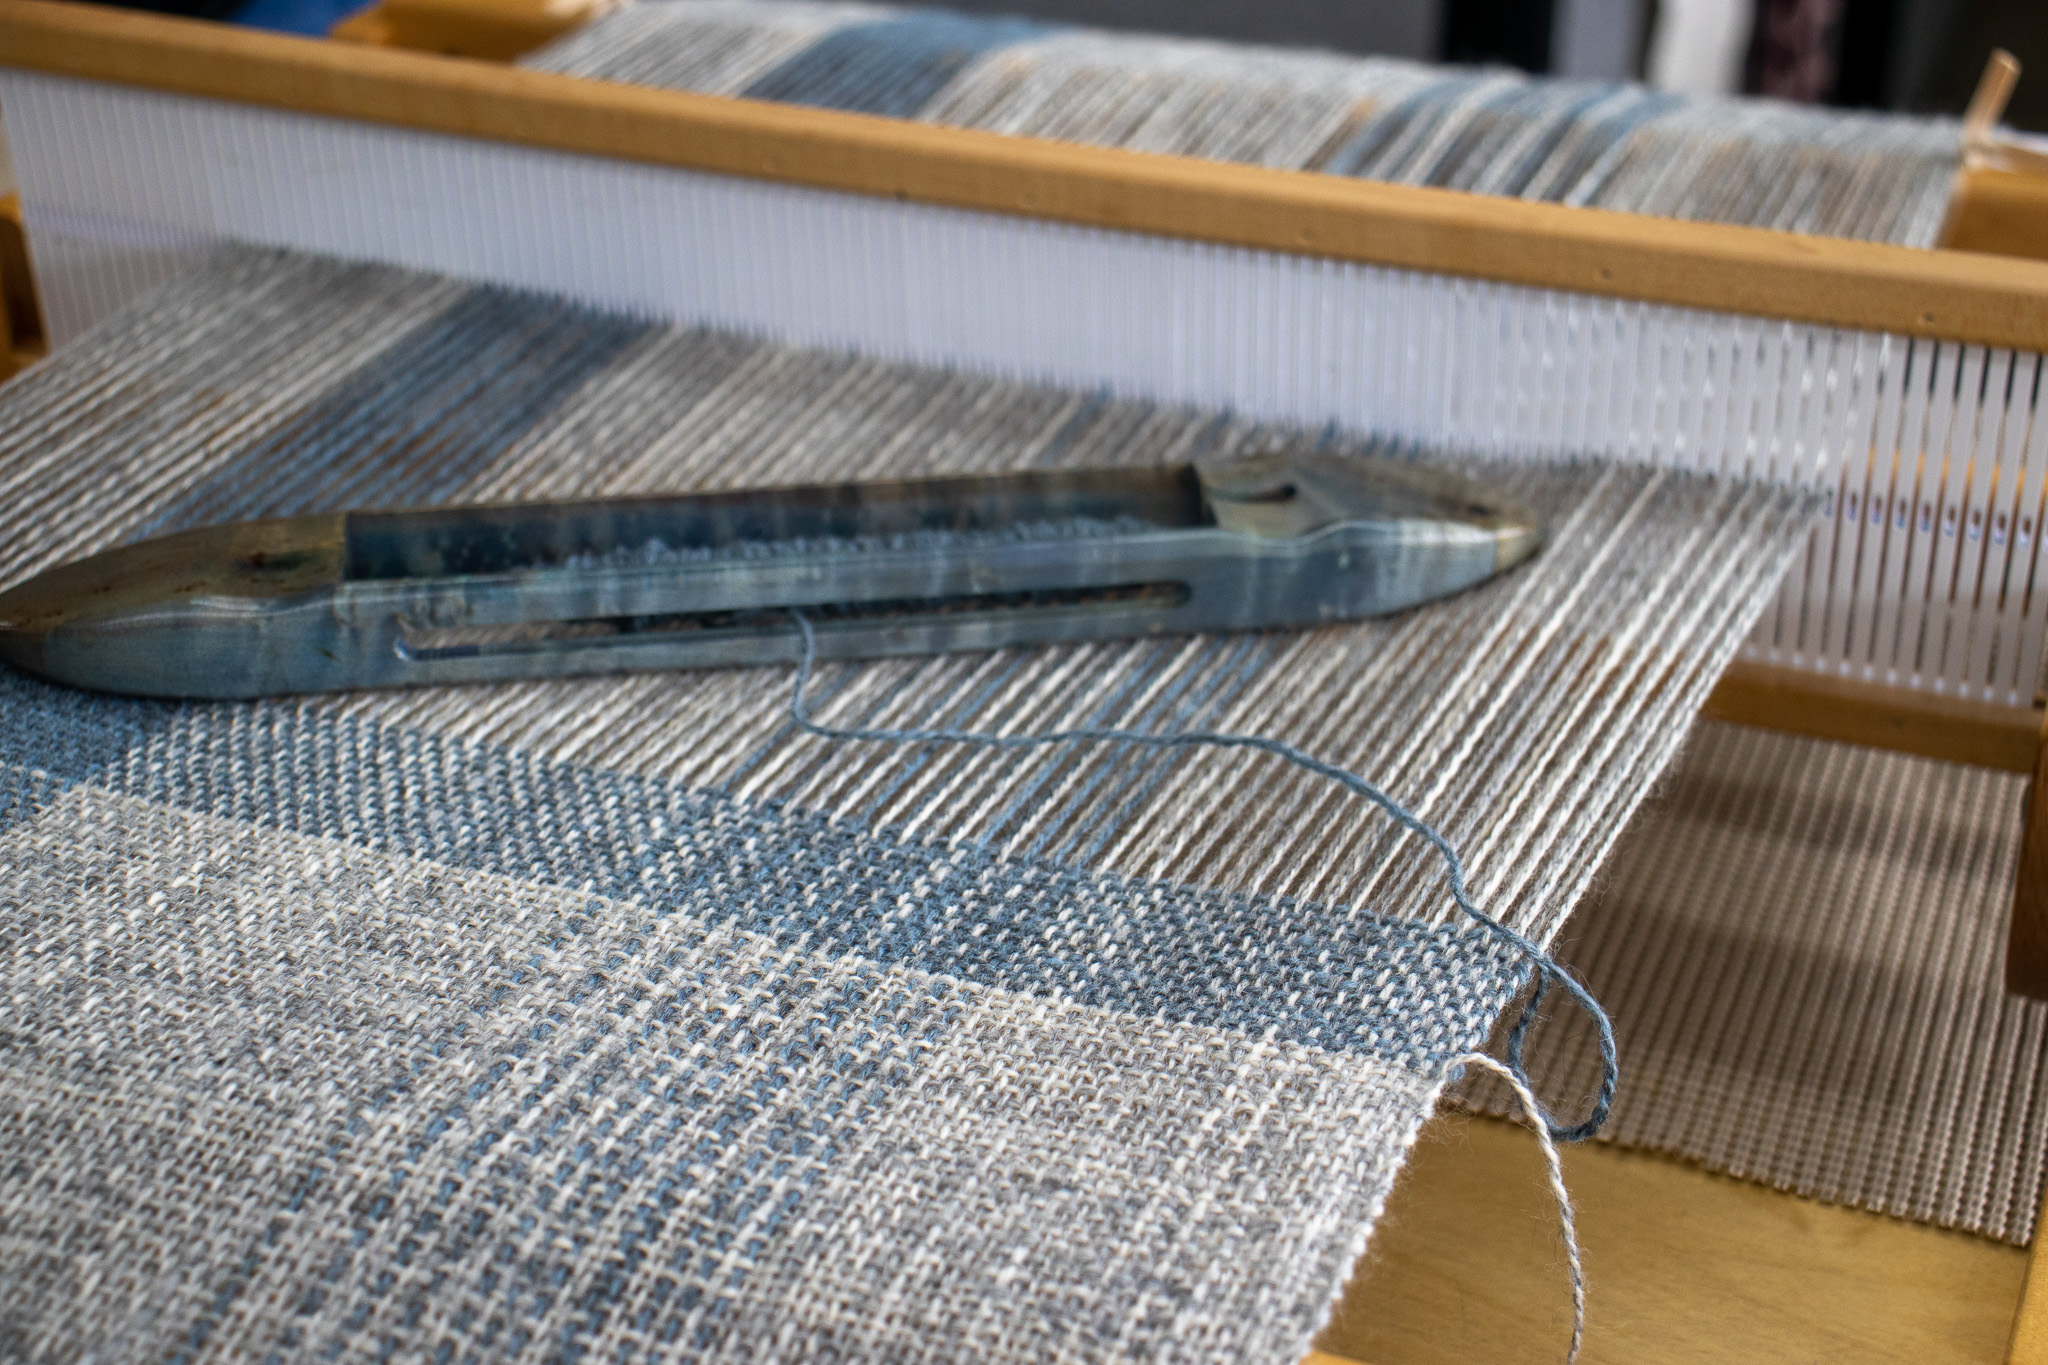
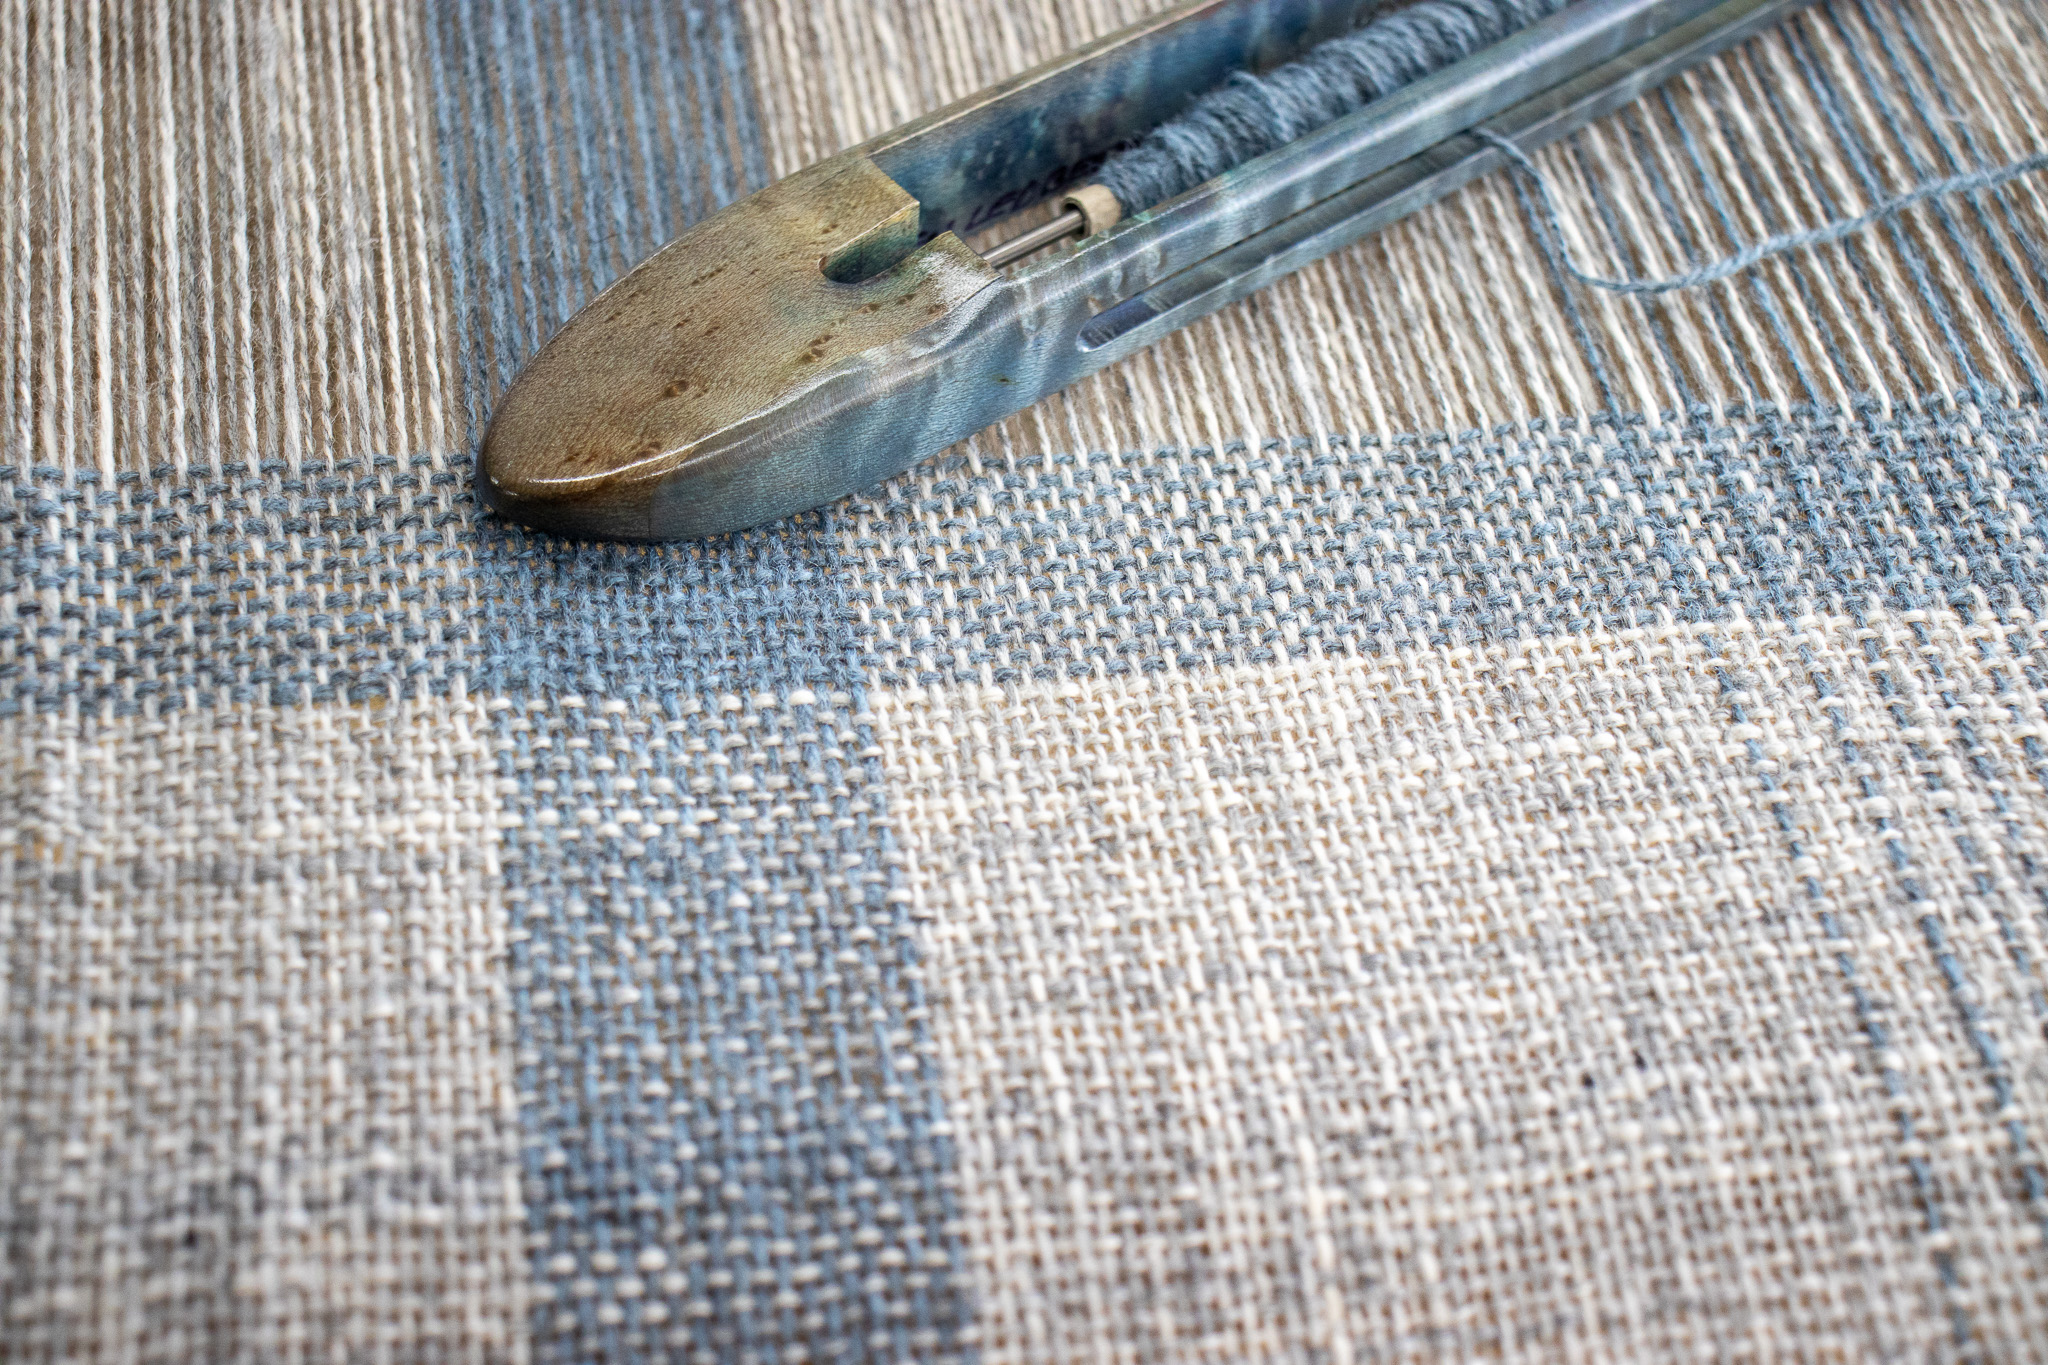
Weave Structure
Plain weave
Warp
We created a ~72” long warp with 163 ends using handspun yarn made from Merino Natural Stripe and Tukuwool DK yarn

Weft
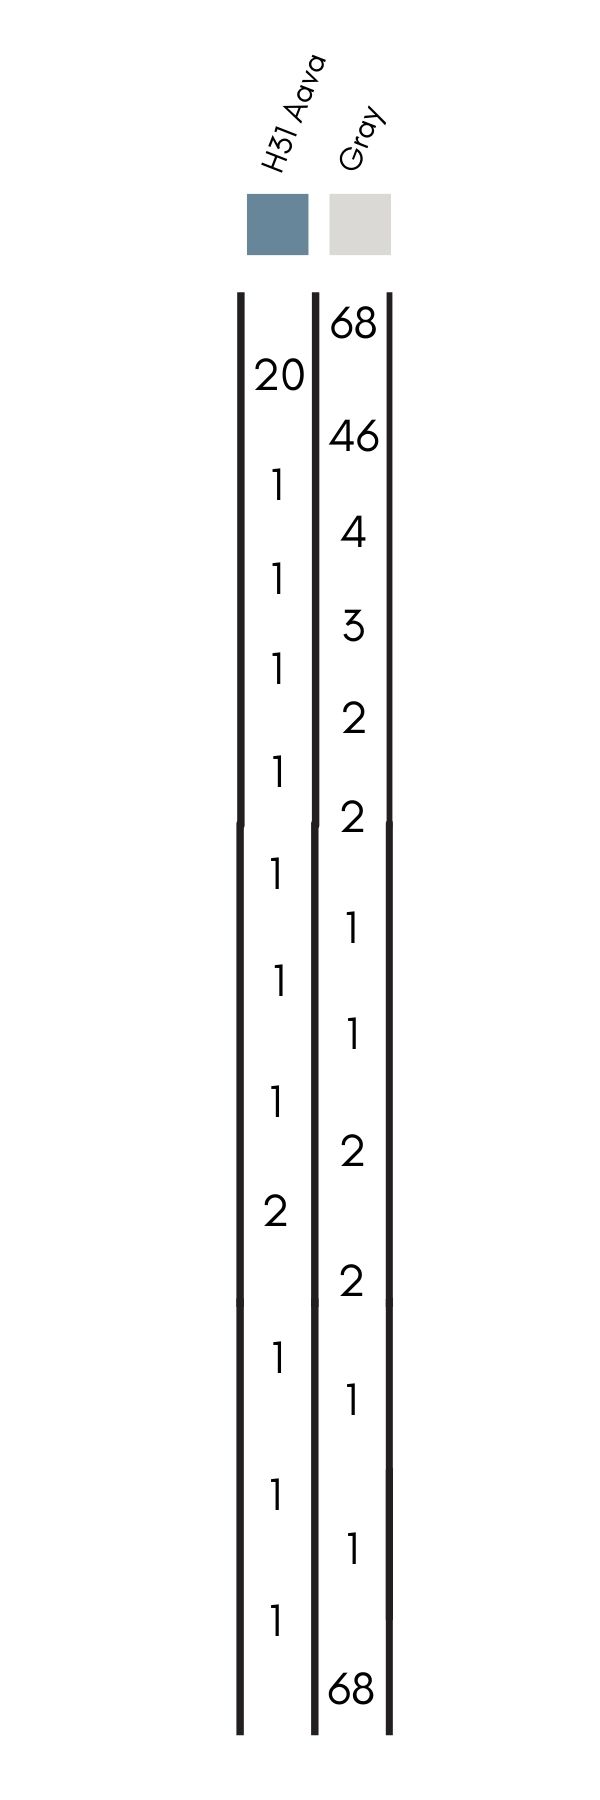
Amy freestyled her weft sequence, but if you’d like to mirror your weft sequence to the warp sequence you can! We included a graphic with the number of picks and adding extra picks on the ends to get your total length to be 25”.
This could be a great opportunity to play with different designs and make something completely unique to you. Have fun with it! Just make sure that your total woven length is 25”.
Note: With this project it is extremely important to measure your running length off tension. You must have a minimum of 25” woven length
Finishing
After taking your fabric off the loom, secure the ends and hand wash with very little agitation (you don’t want it to felt). After air drying, iron the fabric. If you would like to iron your backing, you can.
Now let’s make a pillow sham!
See video below:
OR follow along below
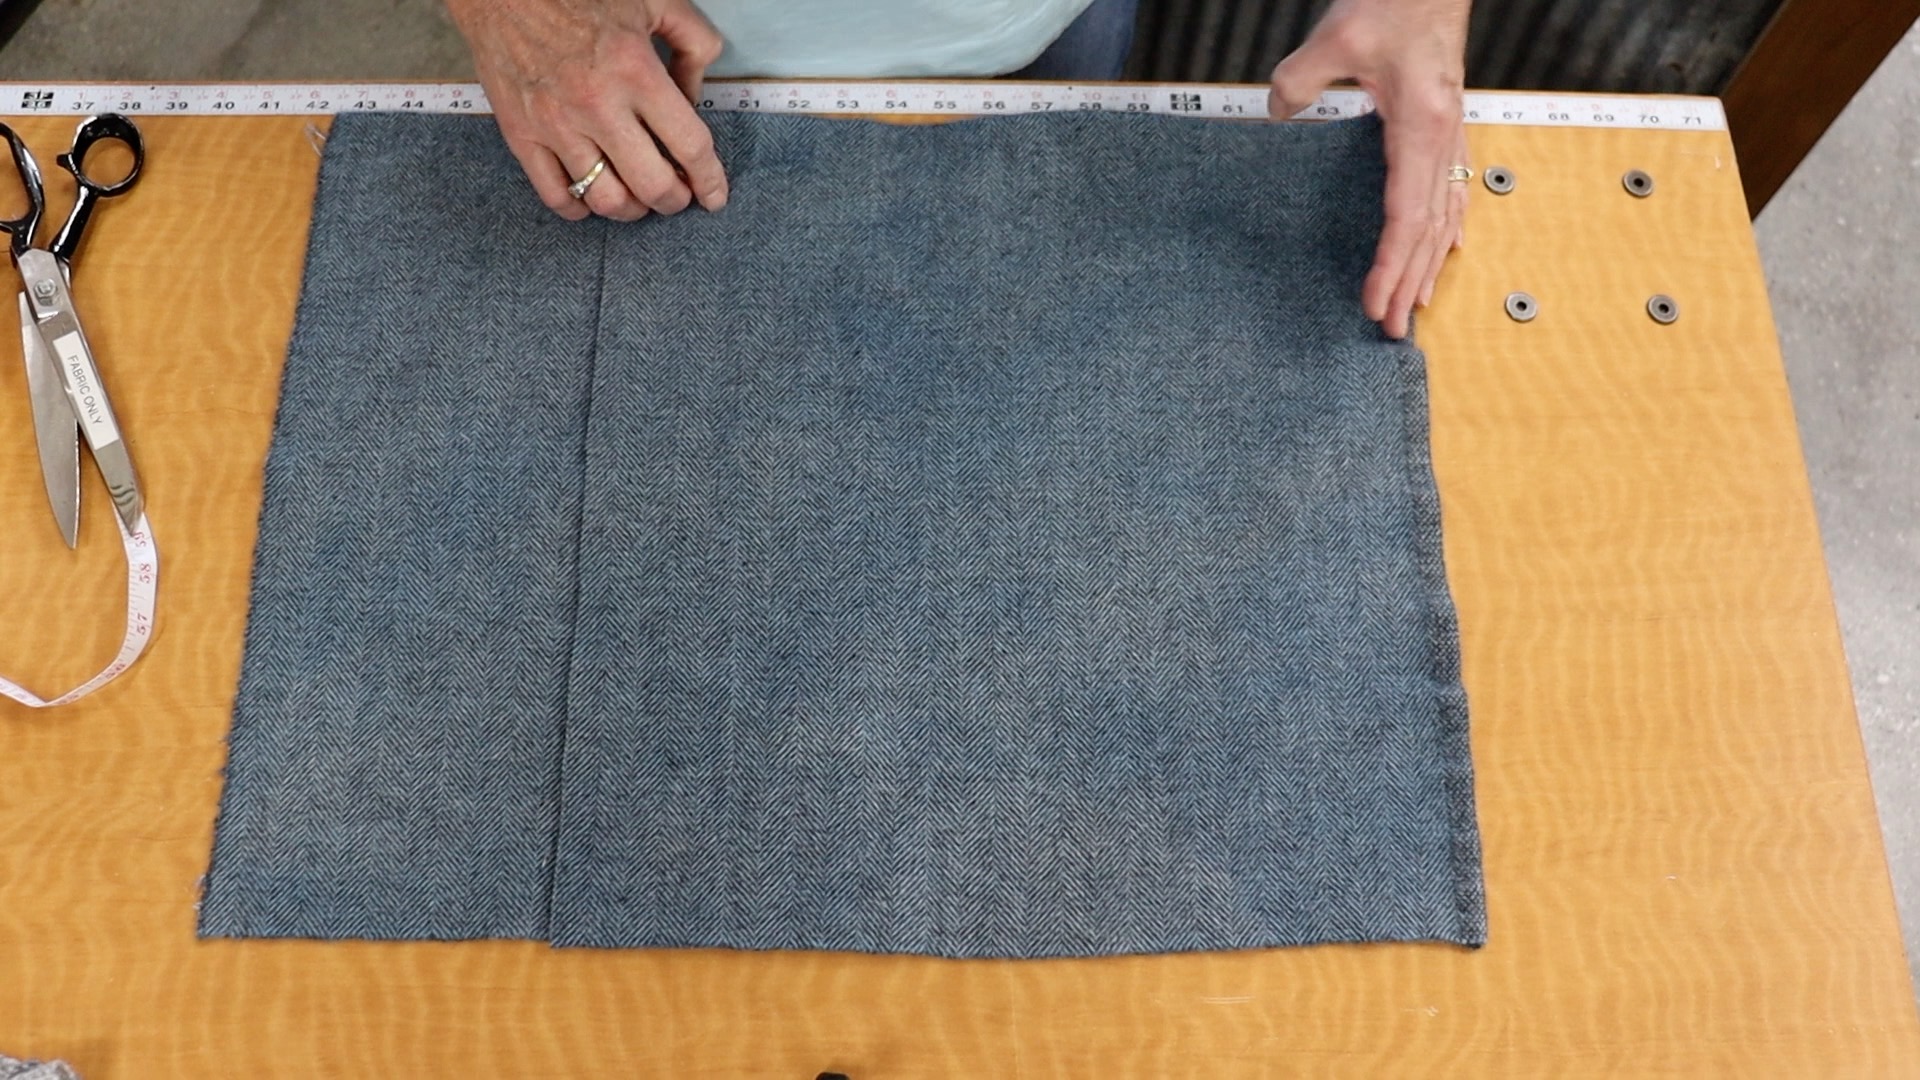
Step 1: Lay your backing ‘right’ side UP
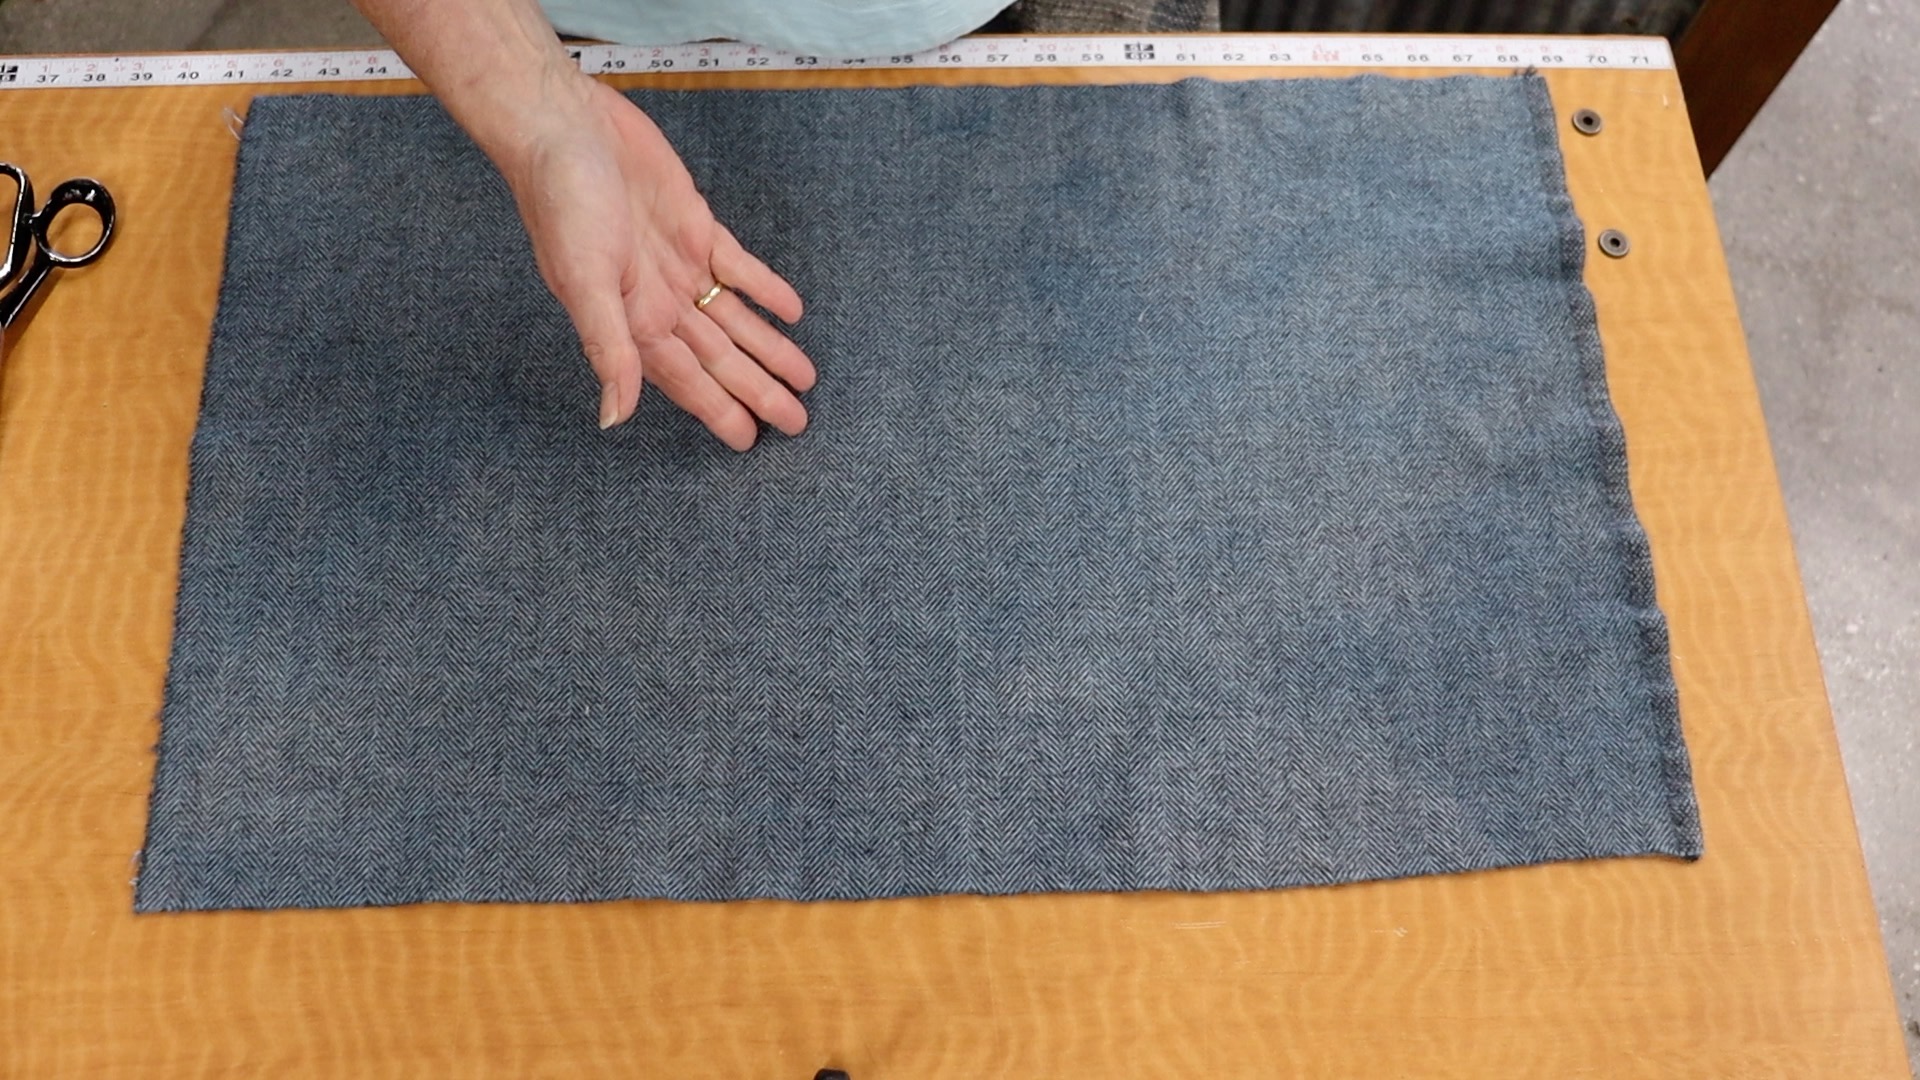
Lay your woven piece on top and measure the length, for us this was 22 inches.
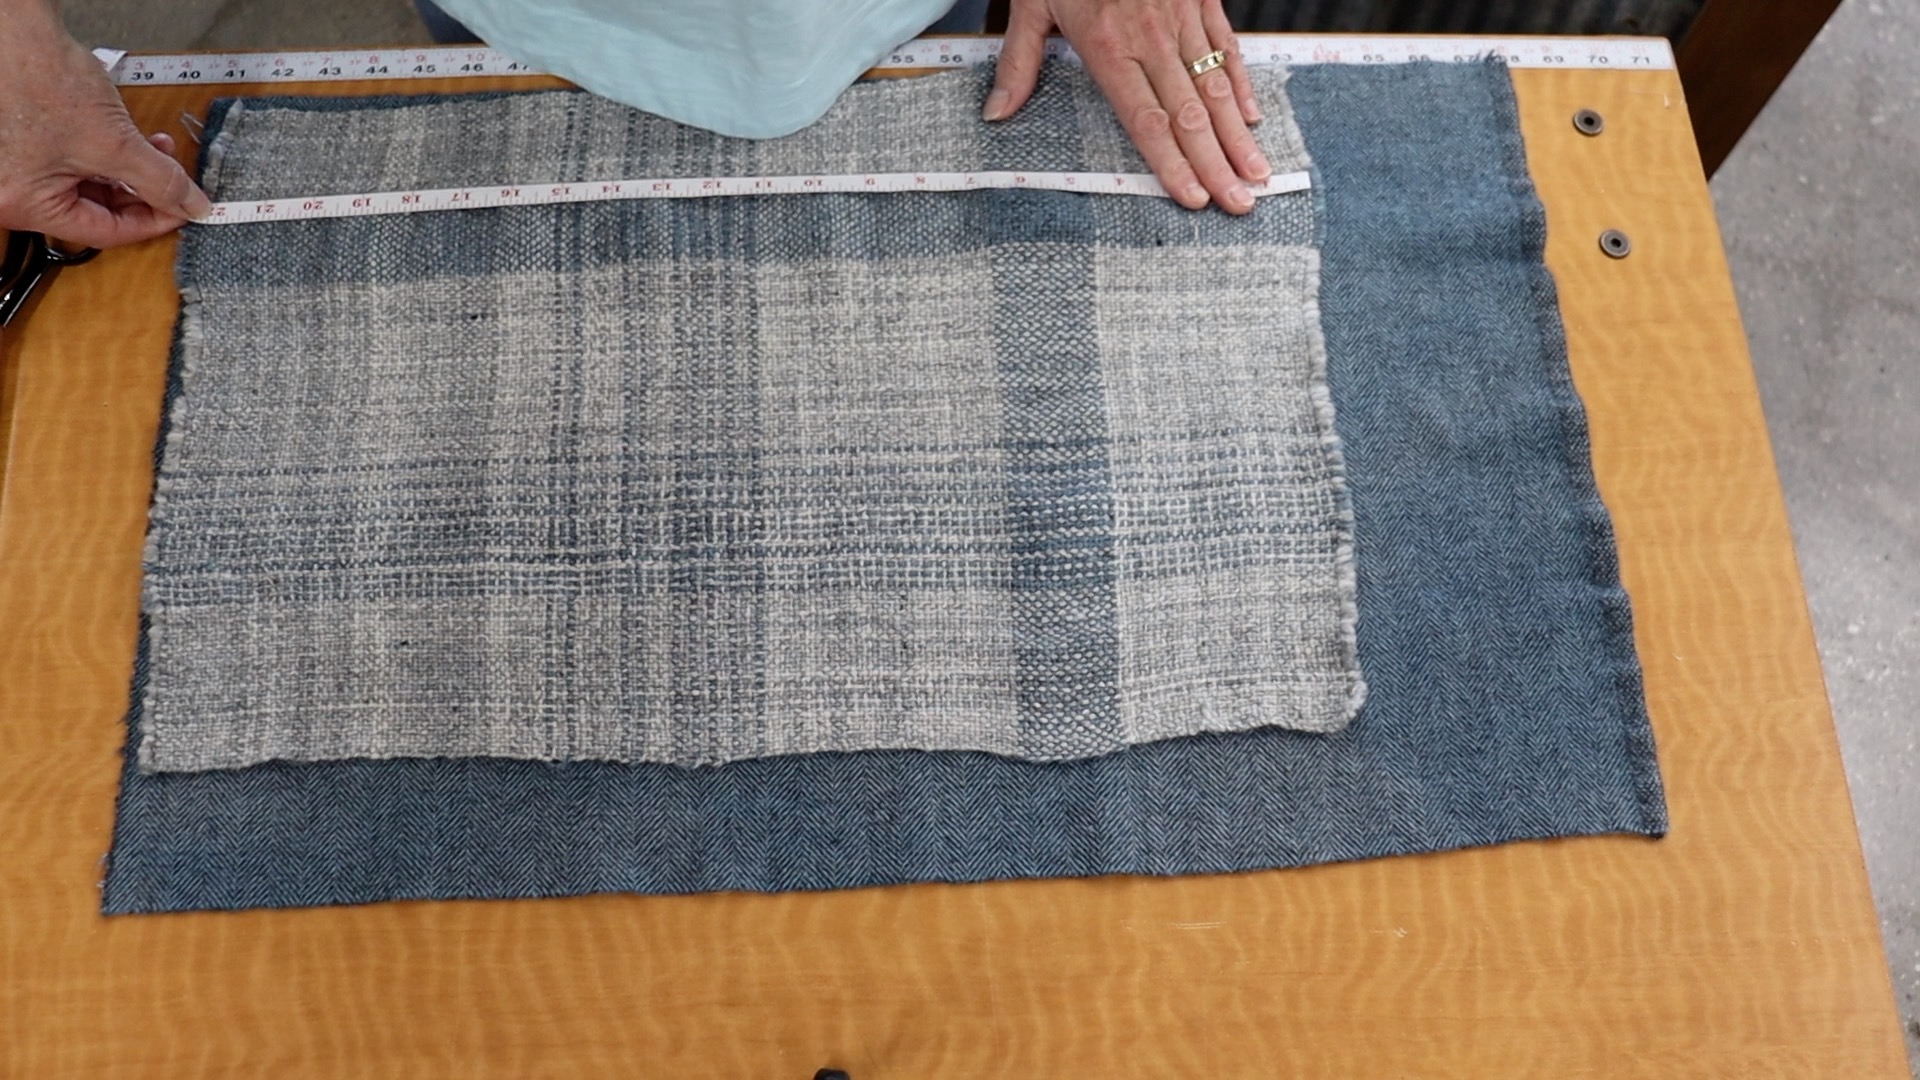
Find the middle of the handwoven piece. In our case, 11 inches was the middle. This will be how we make the envelope backing to insert the pillow form. (This allows you to change out your pillow form or to hand wash your cover when needed)
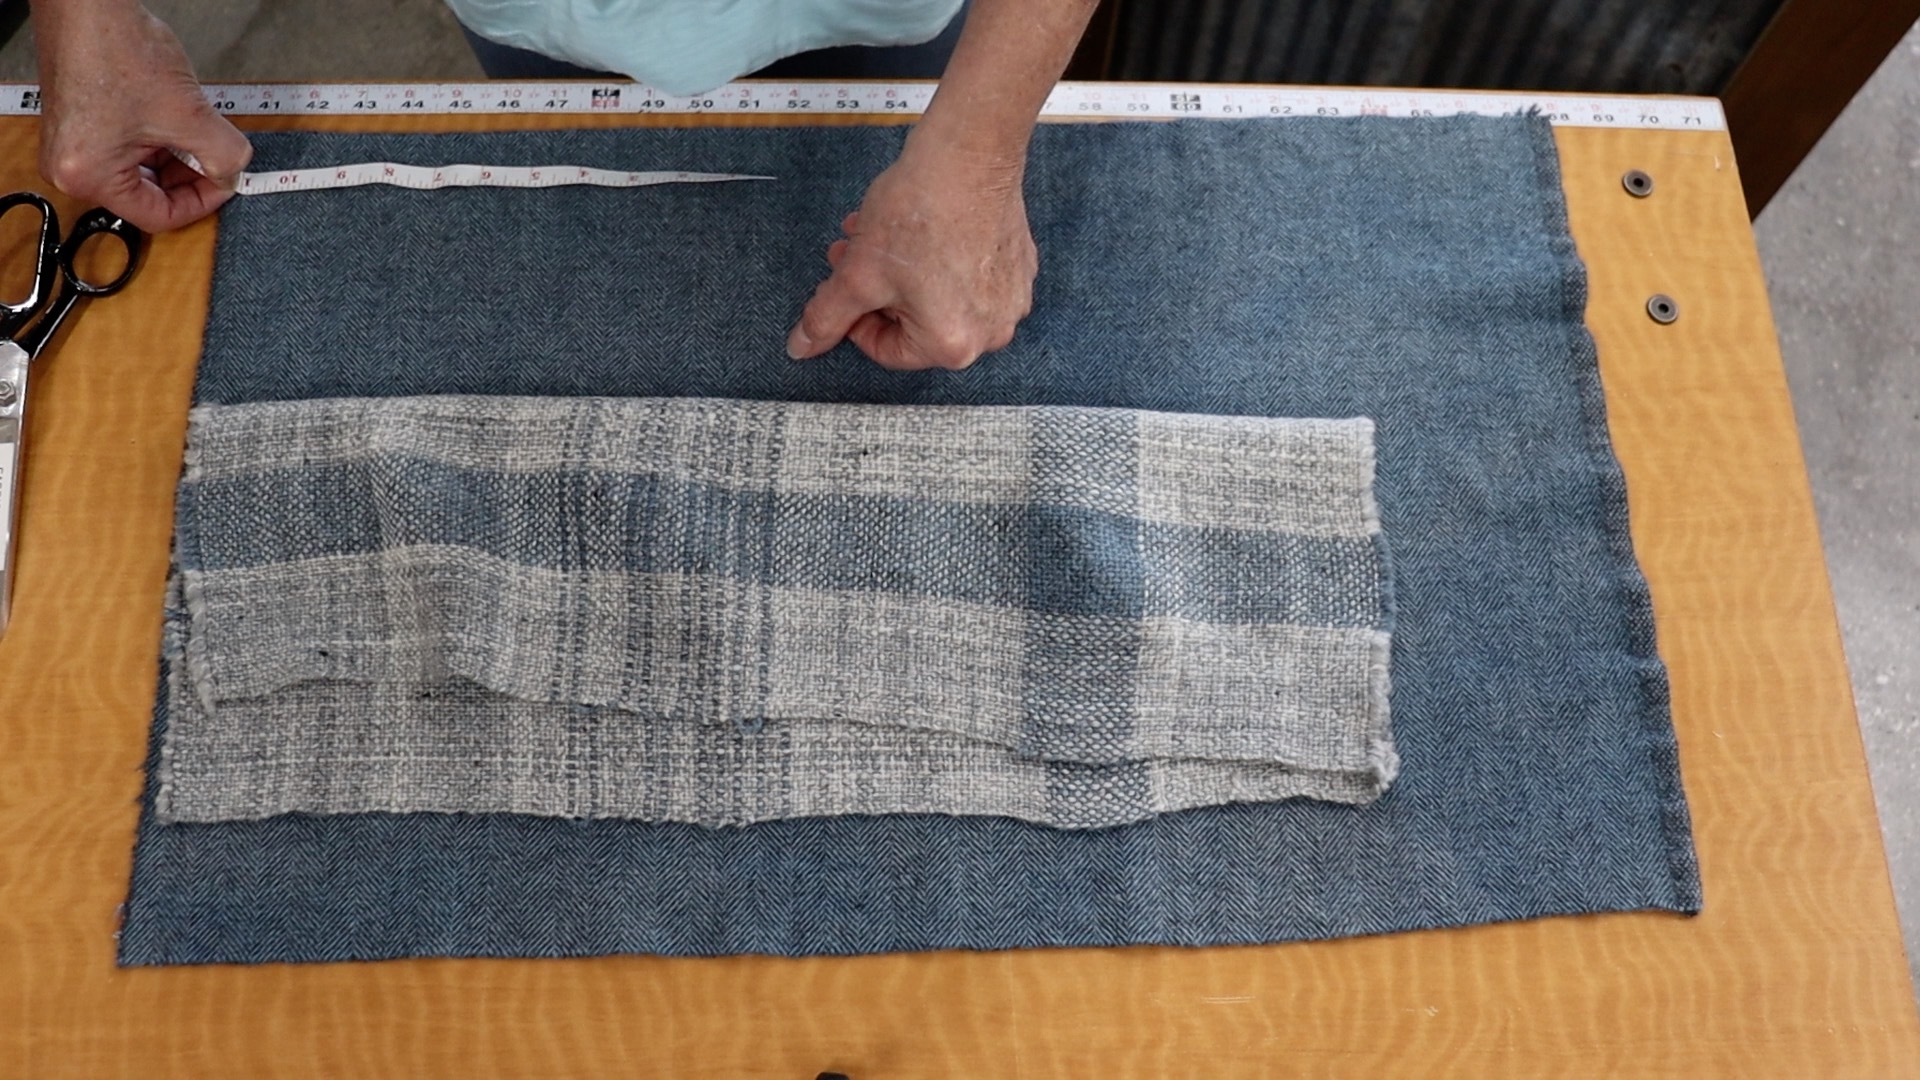
Step 2: Cut down the center
Move the larger fabric piece to overlap the smaller one to equal the size of the hand woven piece. (See video)
Pin down the cut line
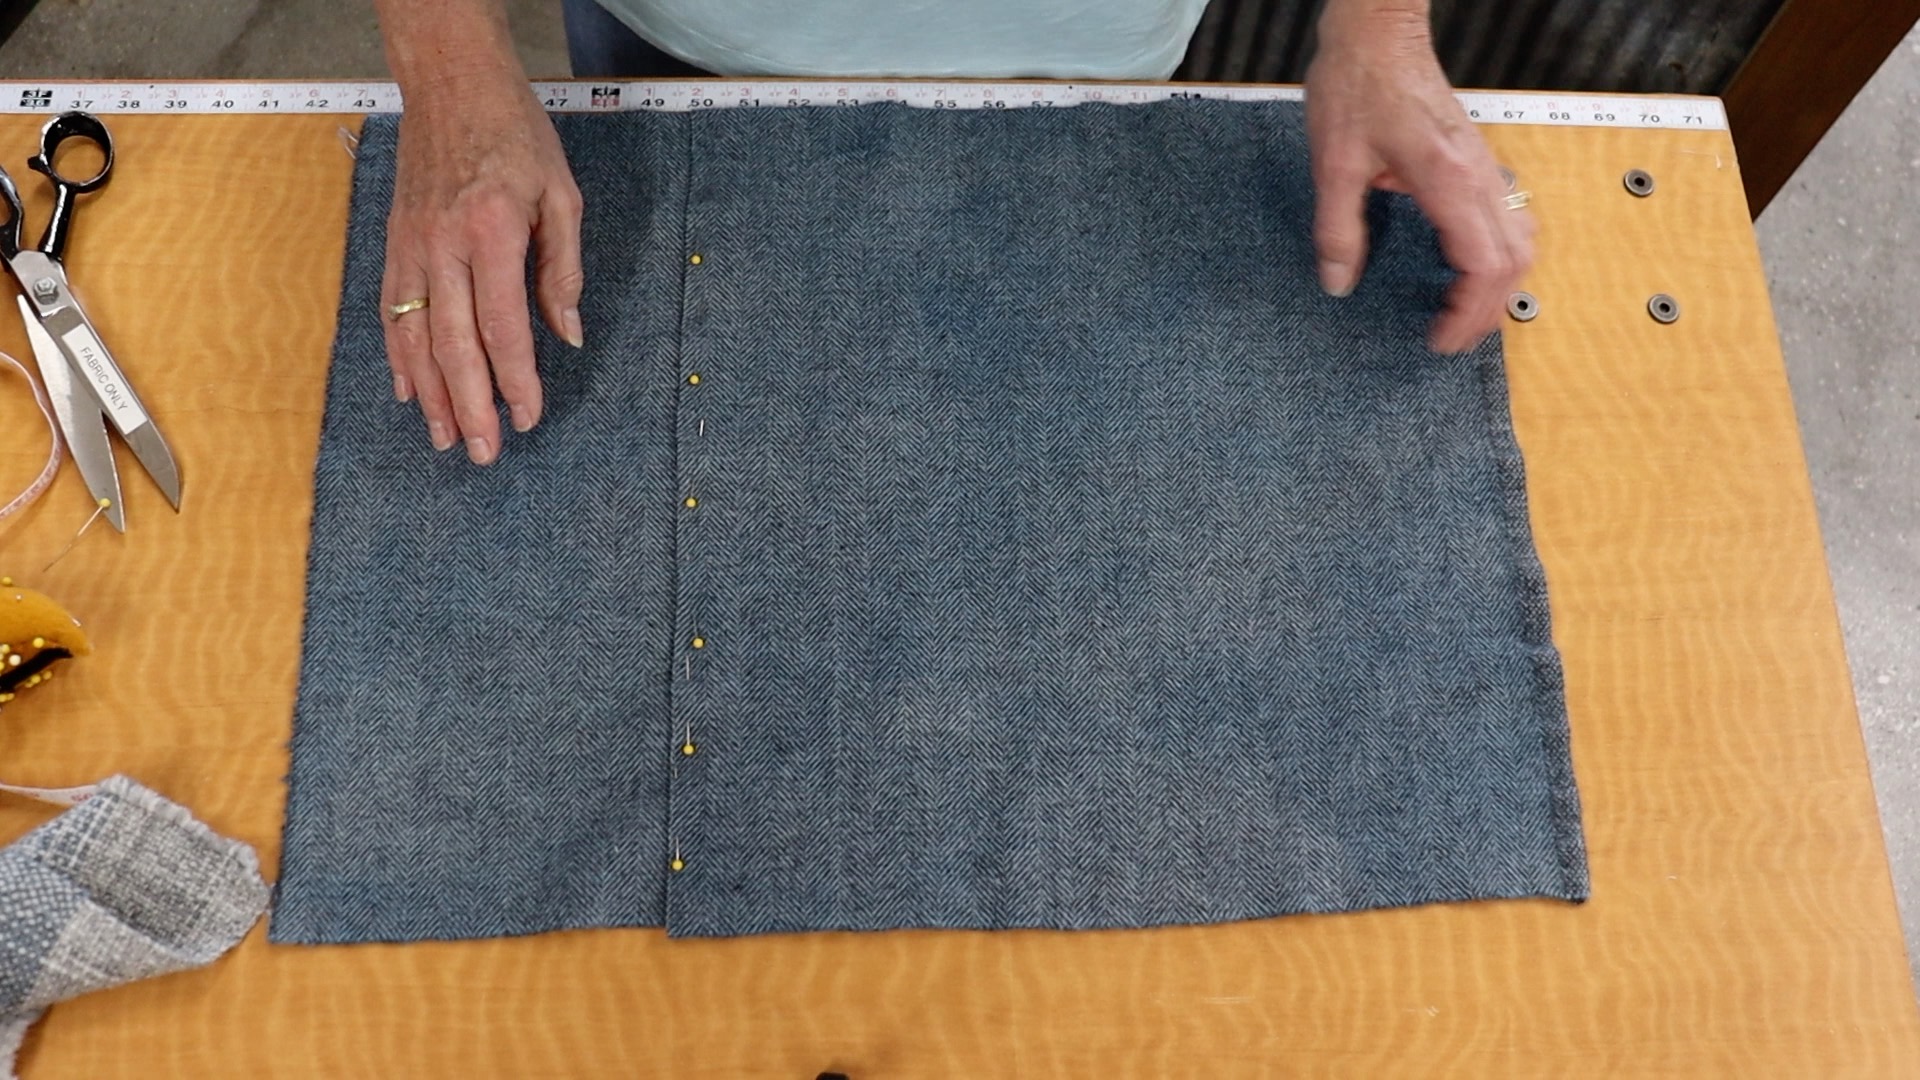
Flip and pin down the other cut line
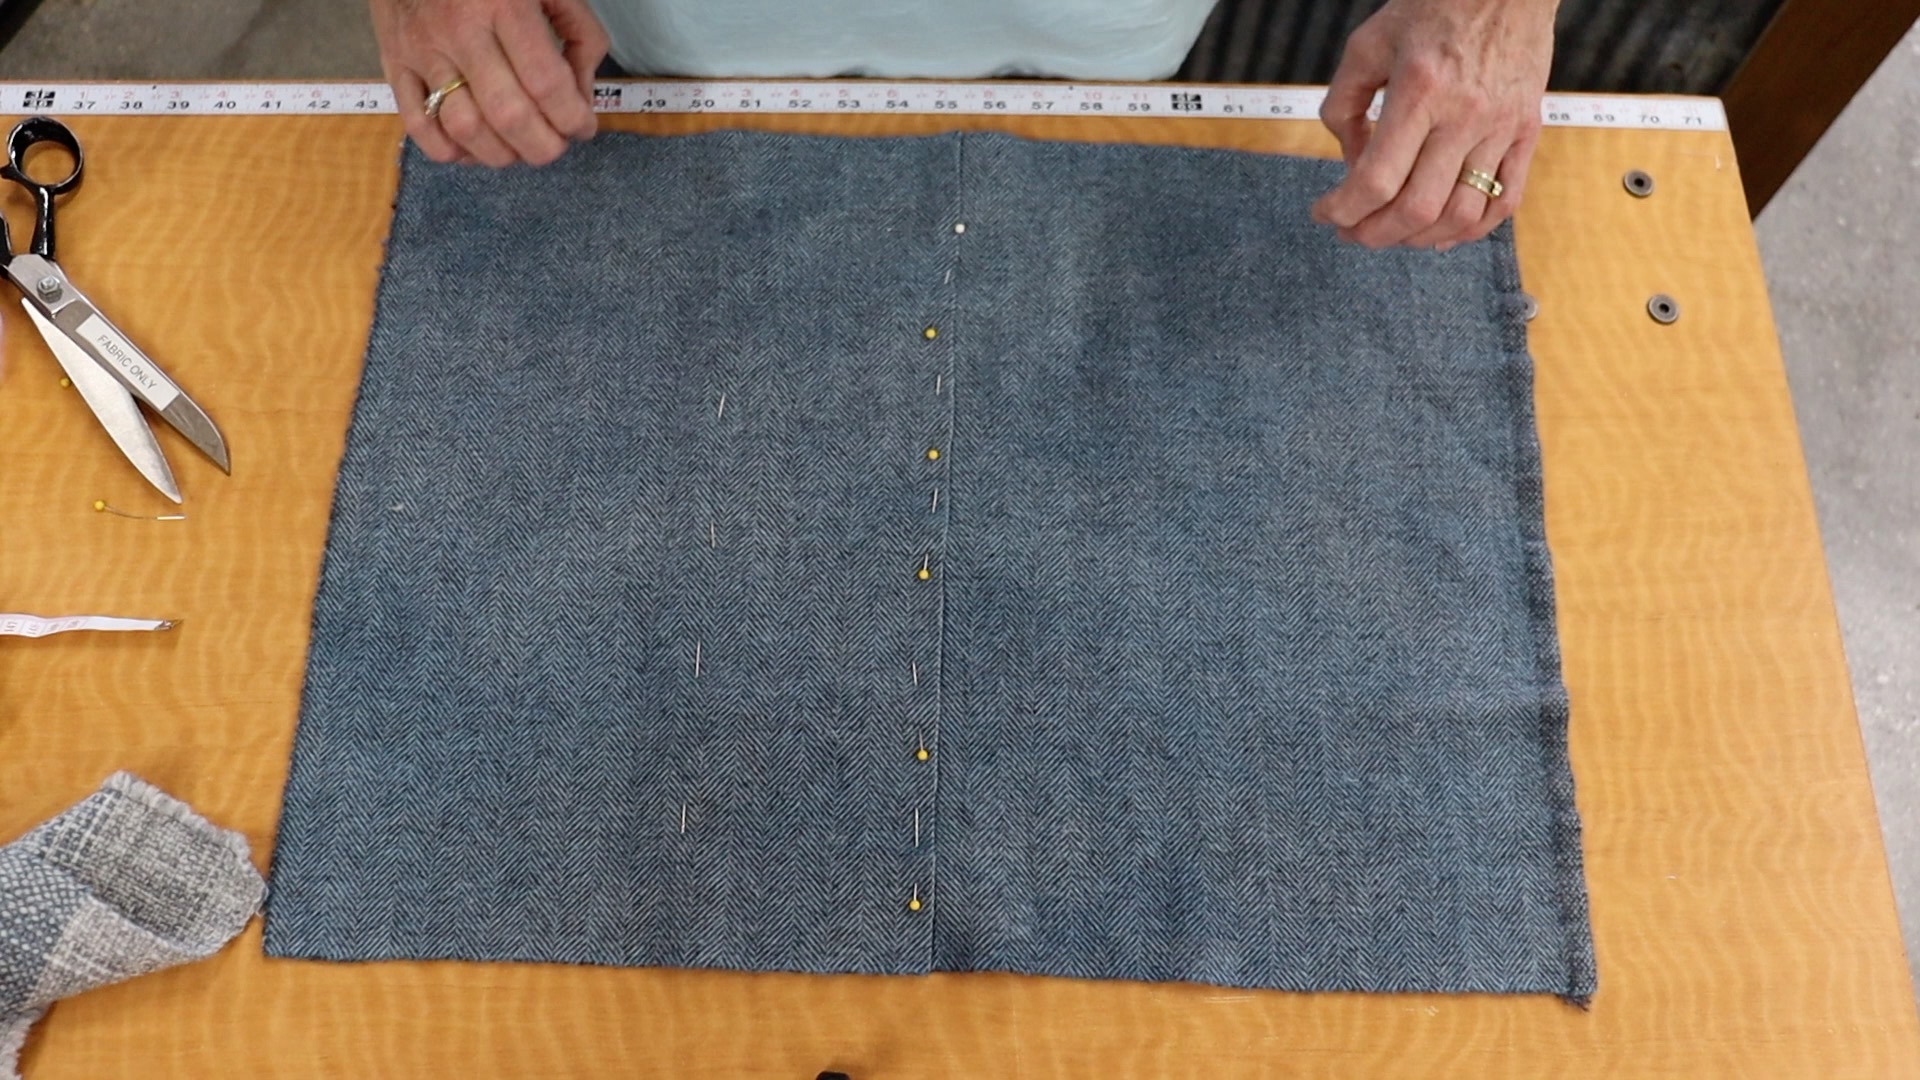
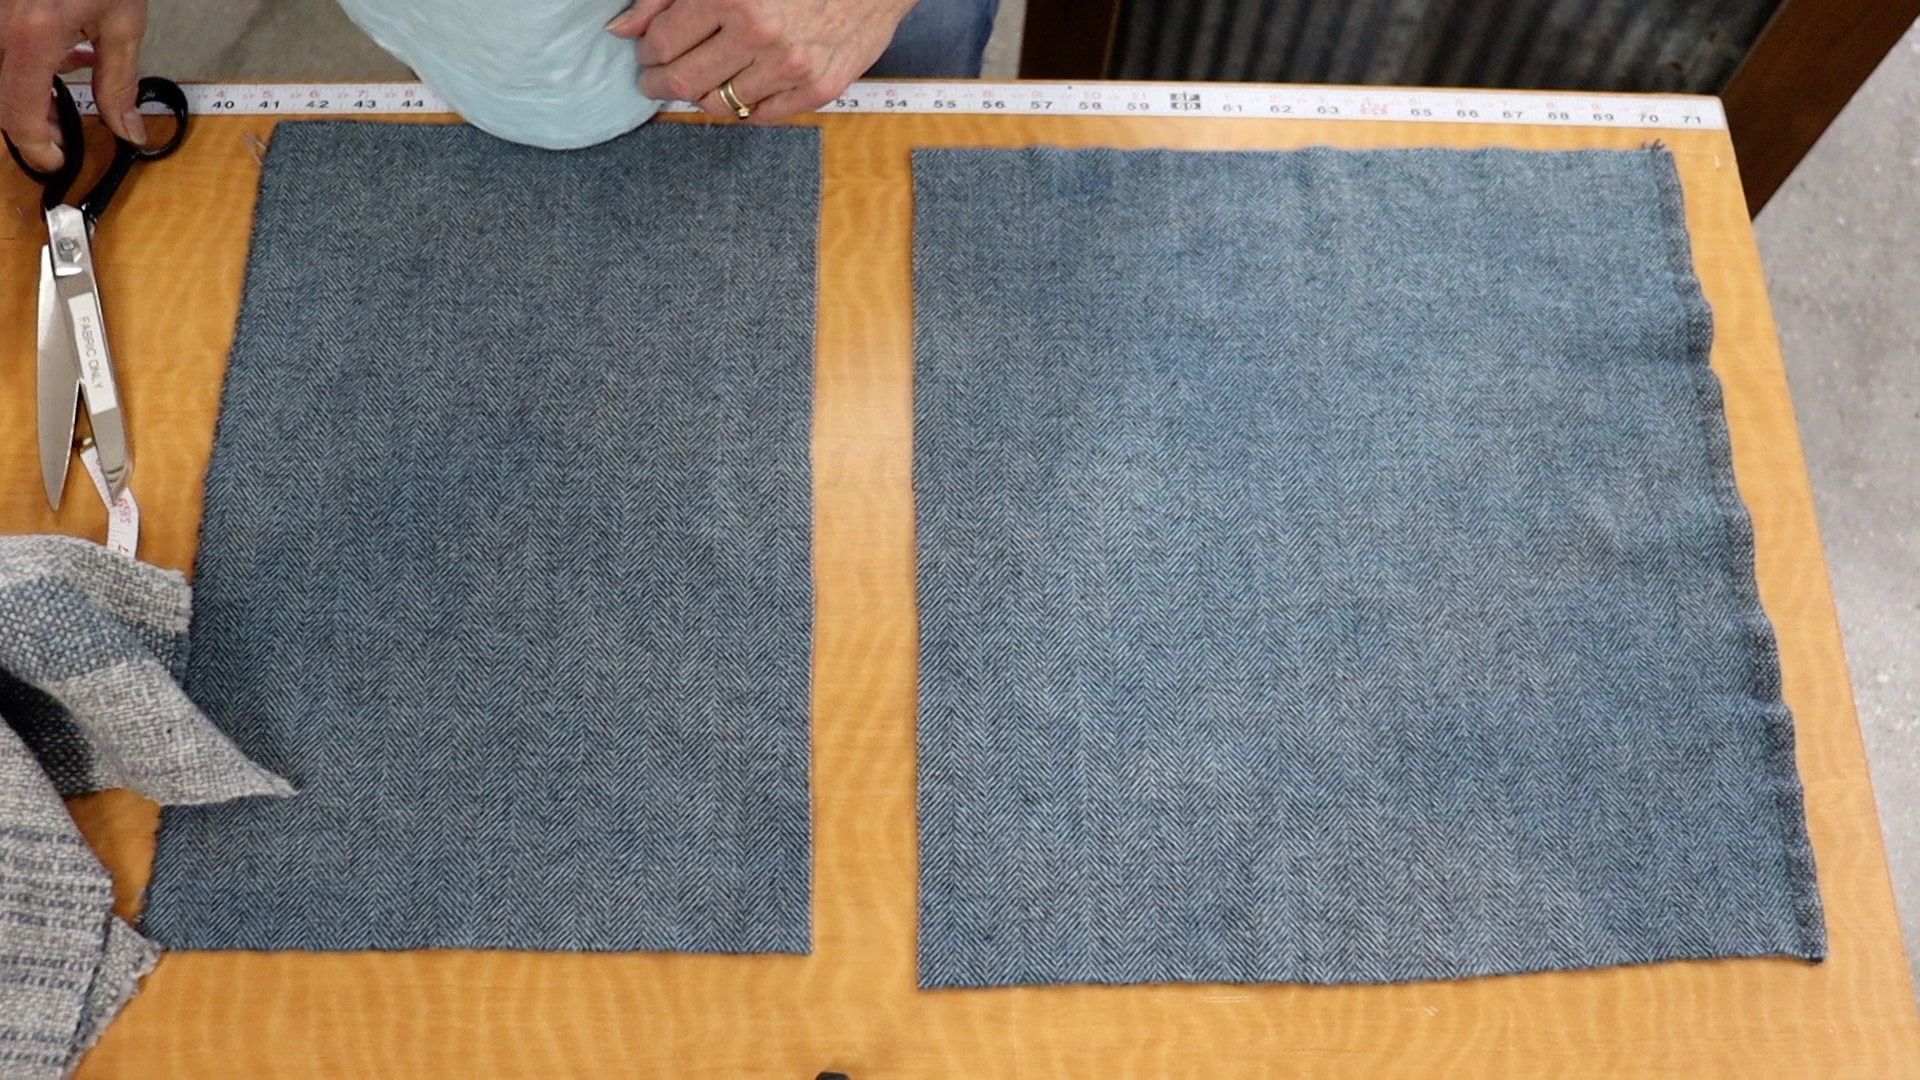
Step 3: Flip your backing back over, lay your handwoven fabric ‘right’ side DOWN and pin to the backing. Cut excess backing off. (See video)
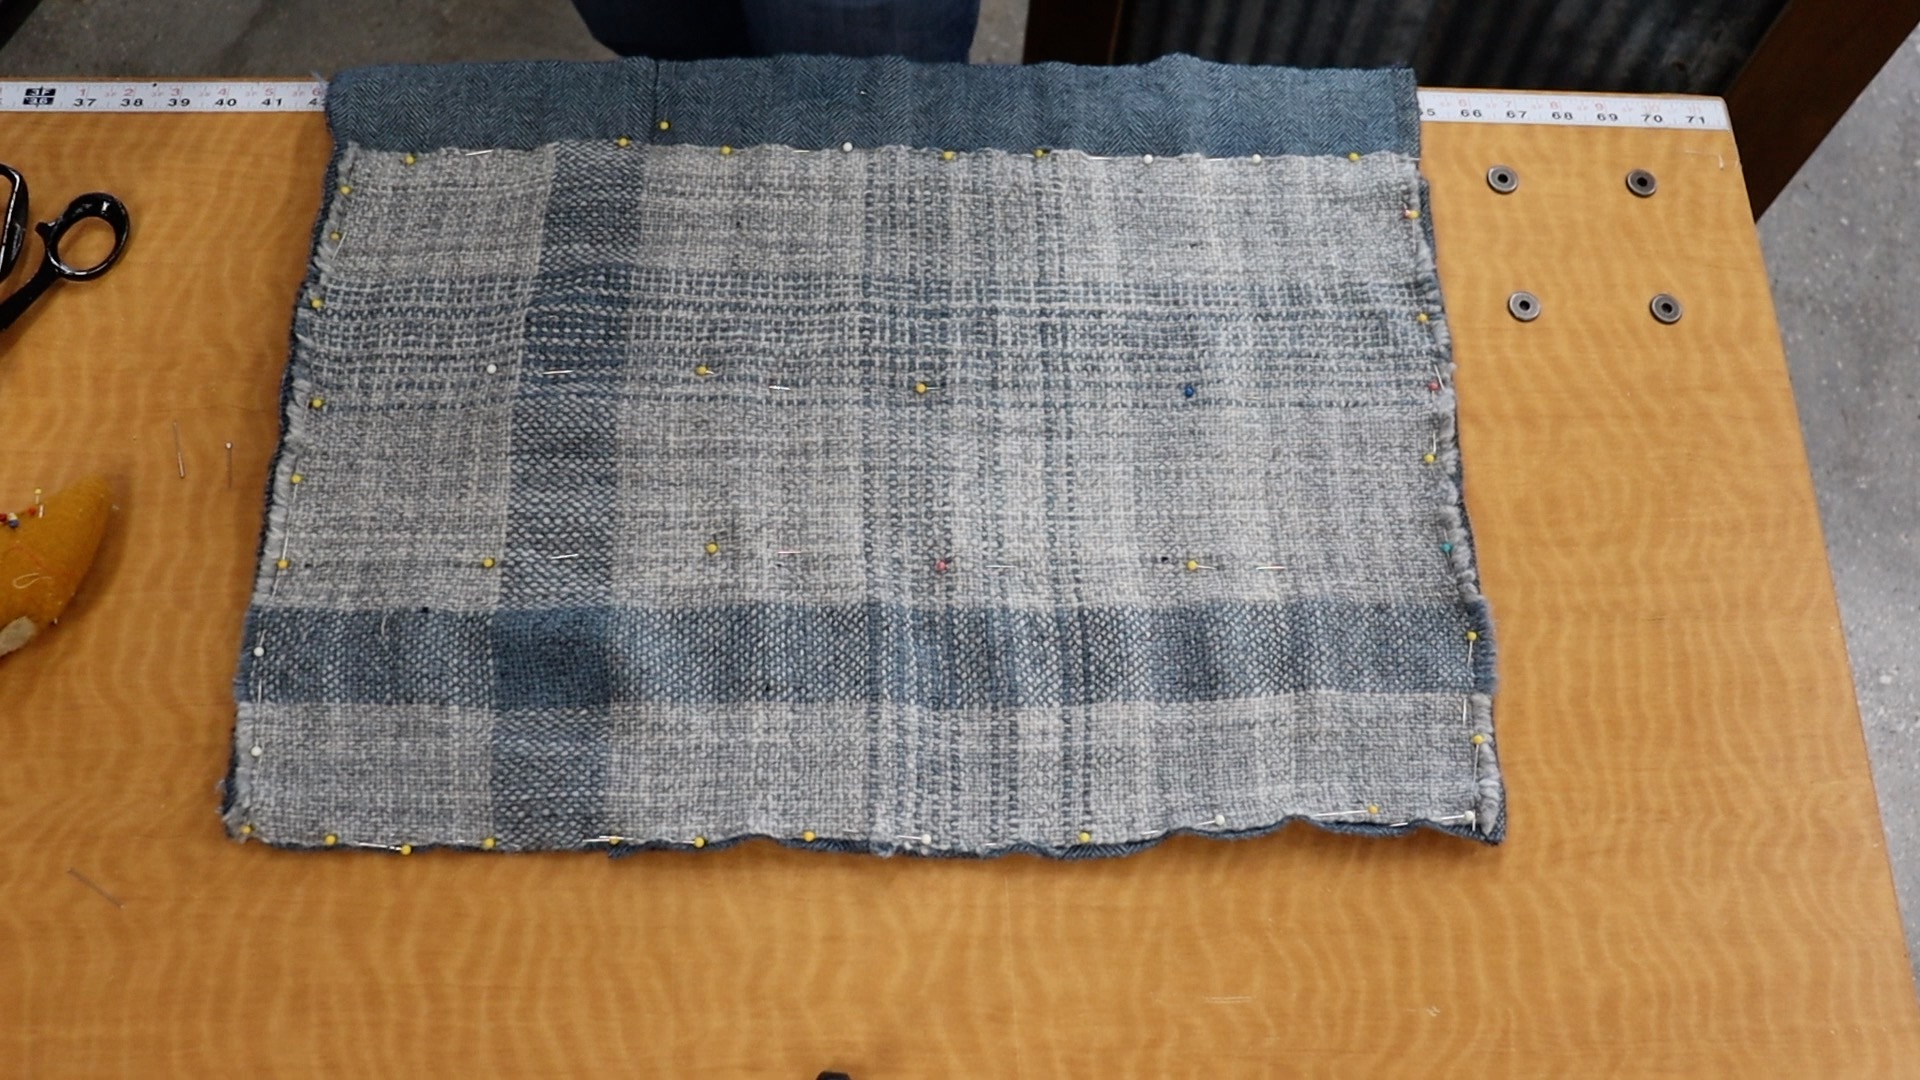
Step 4: Sew around the edges approximately ¼ - ⅜ inches to maximize pillow cover size.
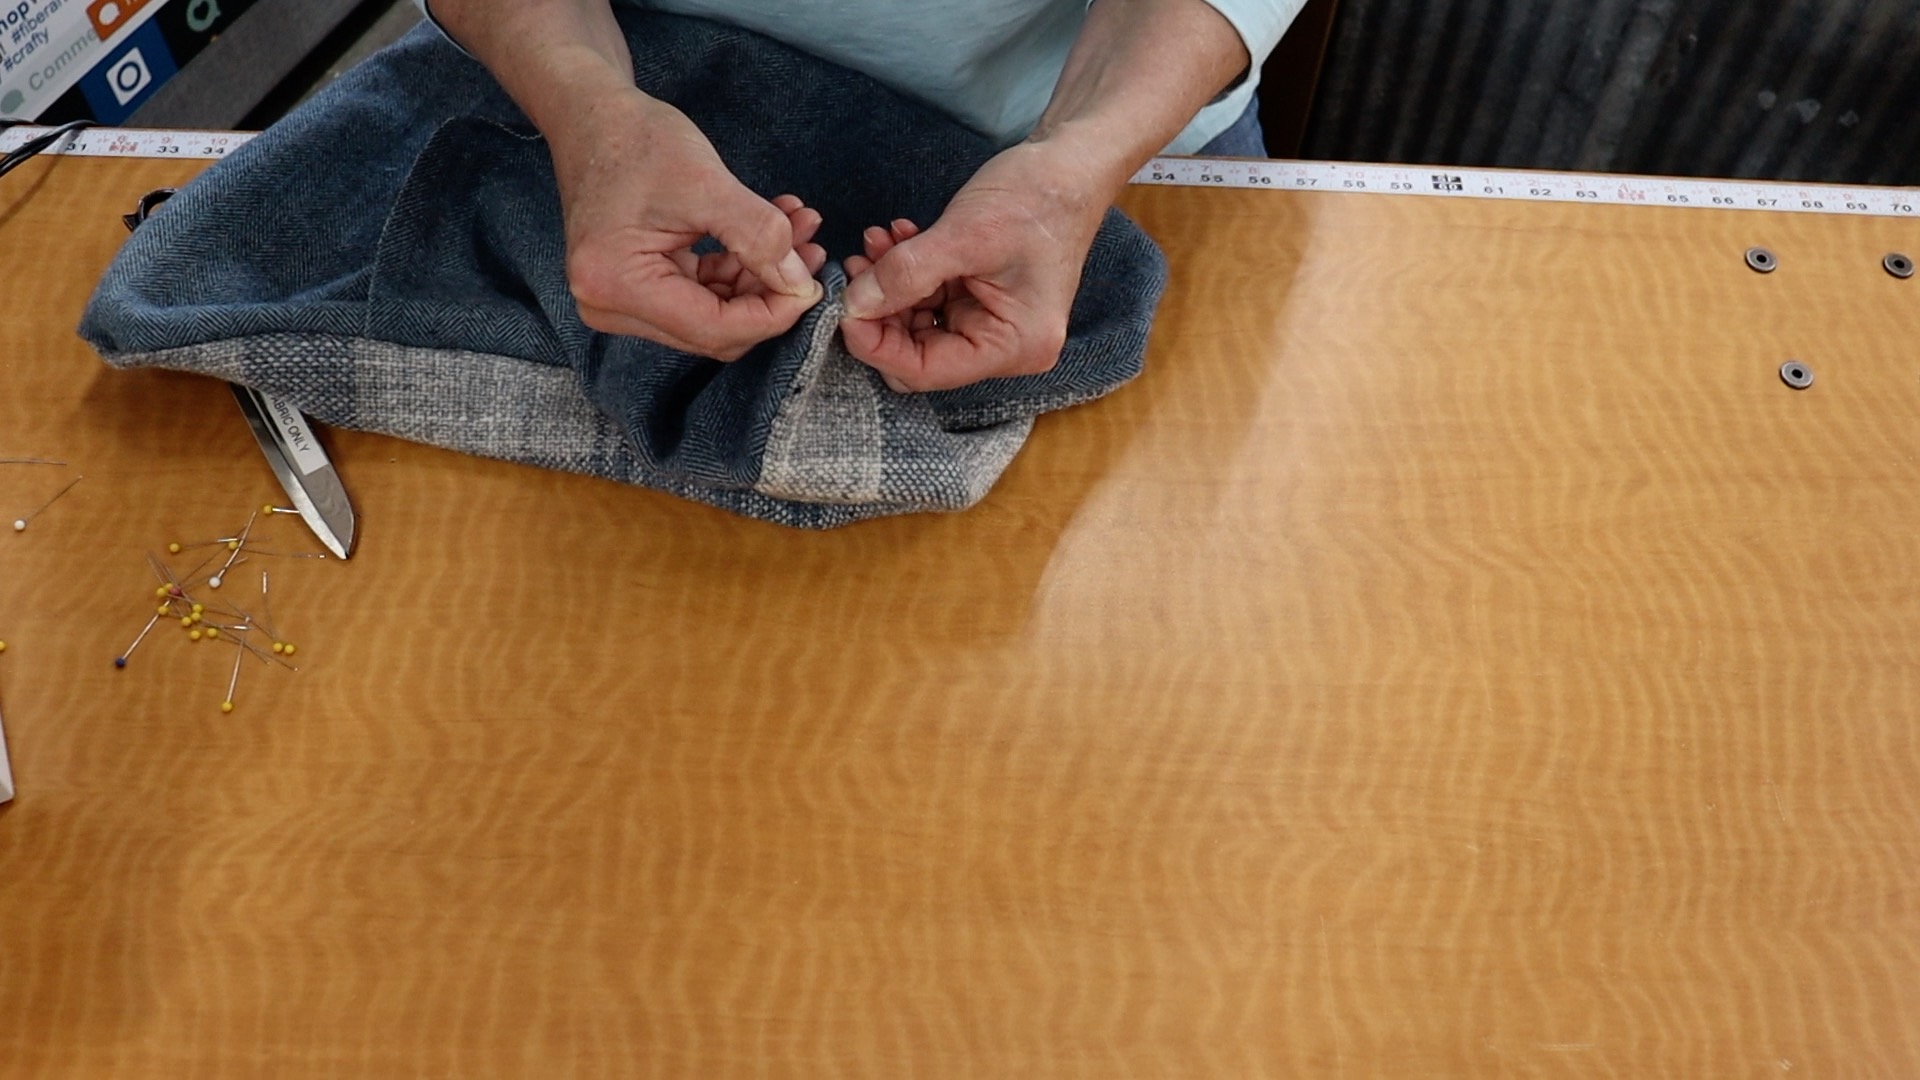
Step 5: Remove any remaining pins. Don’t forget the pins holding the envelope on both sides. Turn the pillowcase right side out
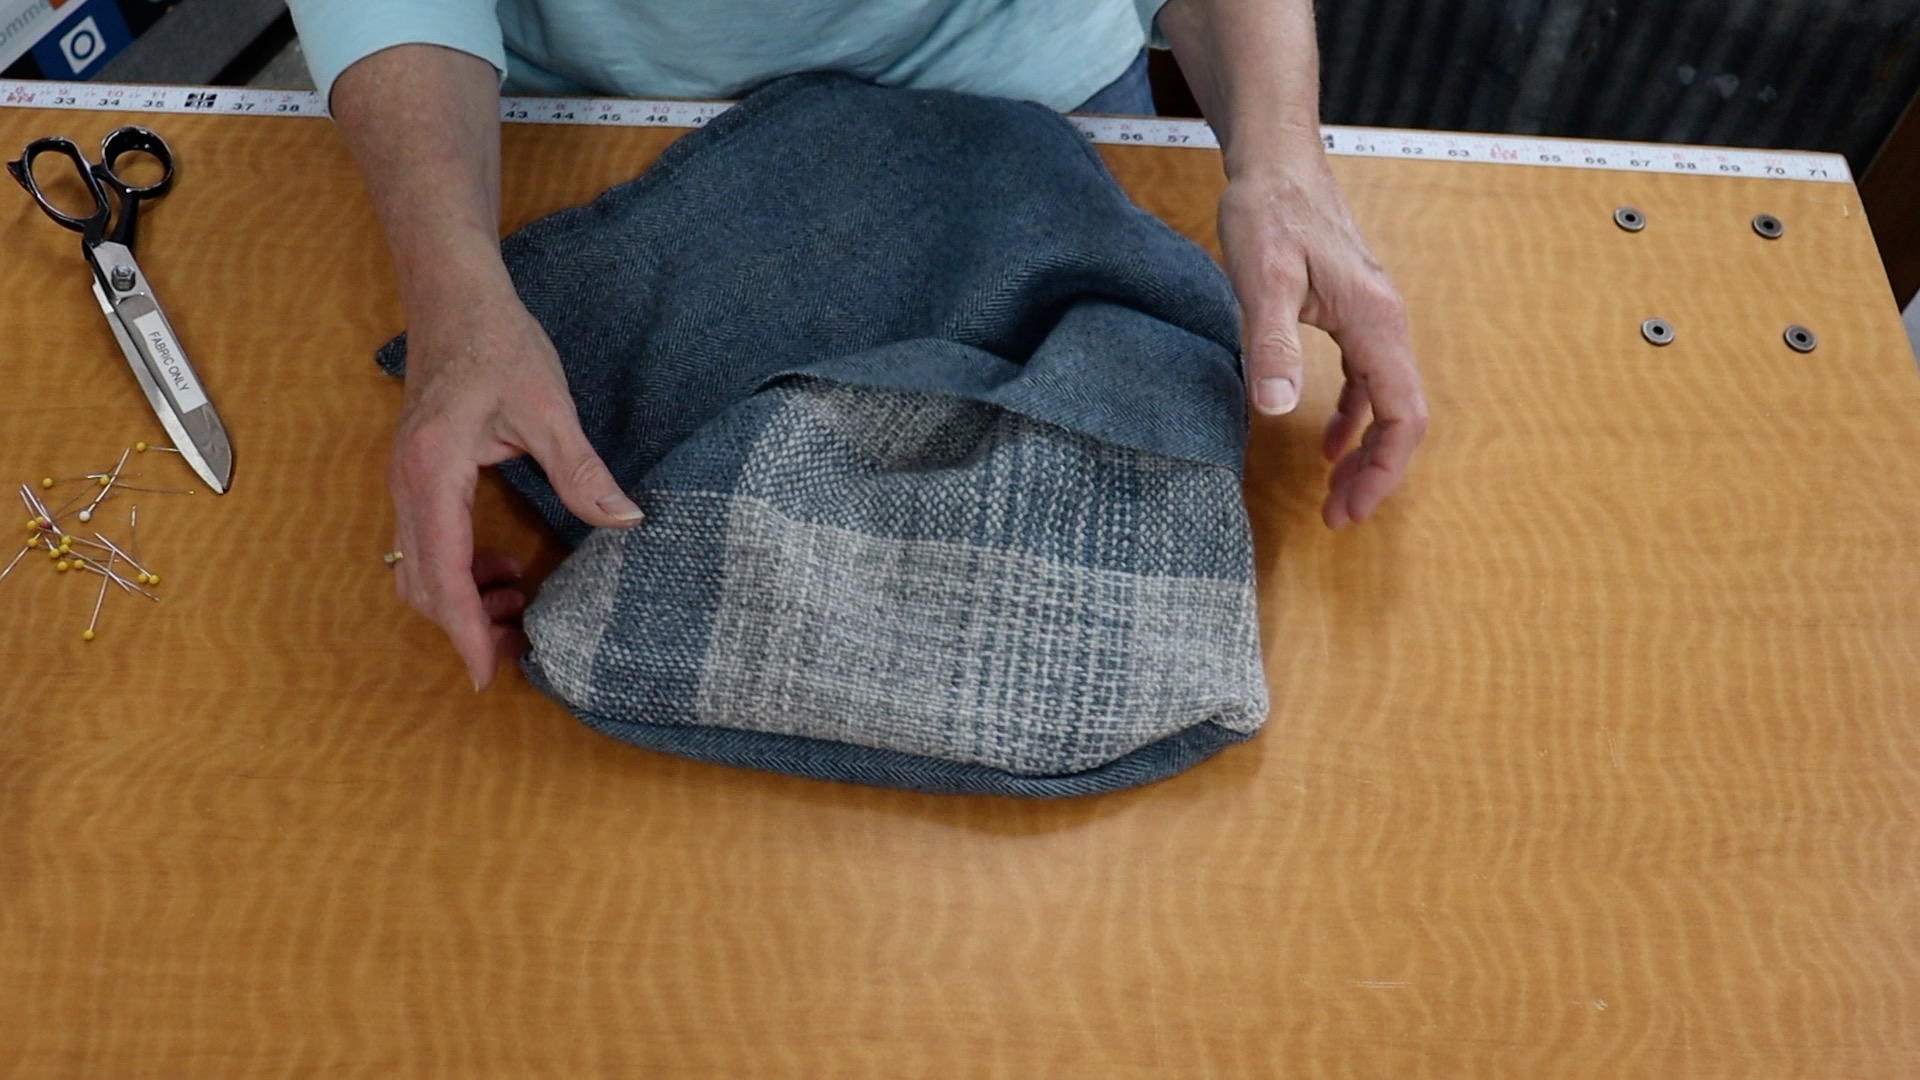
5A: Make sure the corners are pulled out
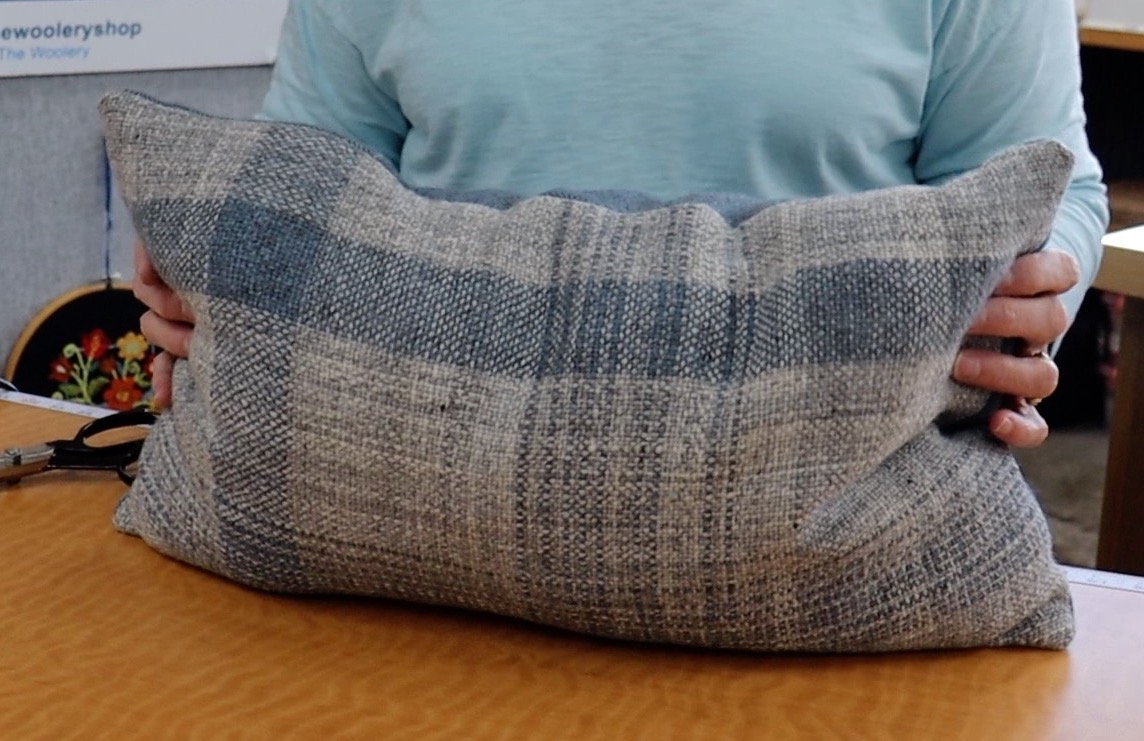
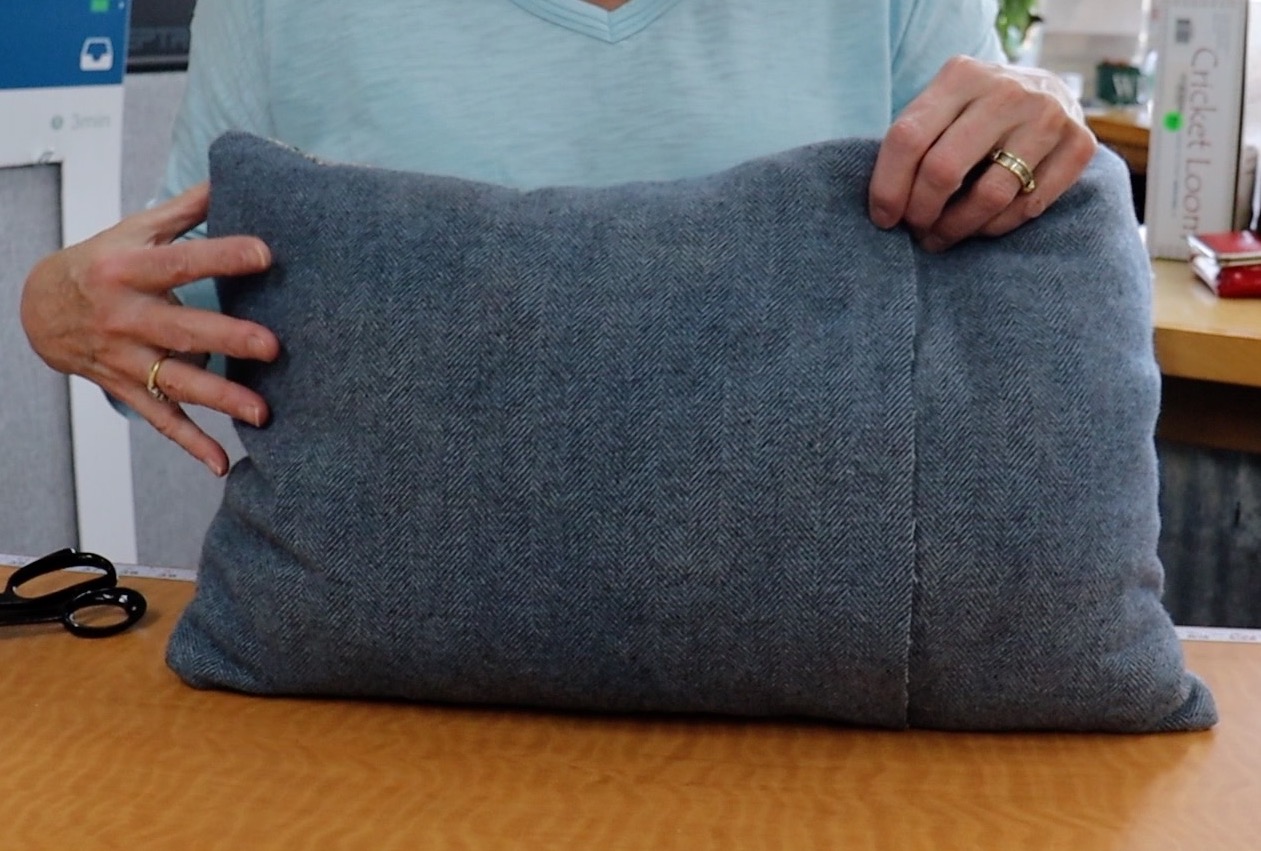
Step 6: Grab your pillow and stuff your sham

And viola!
Happy spinning and/or weaving!