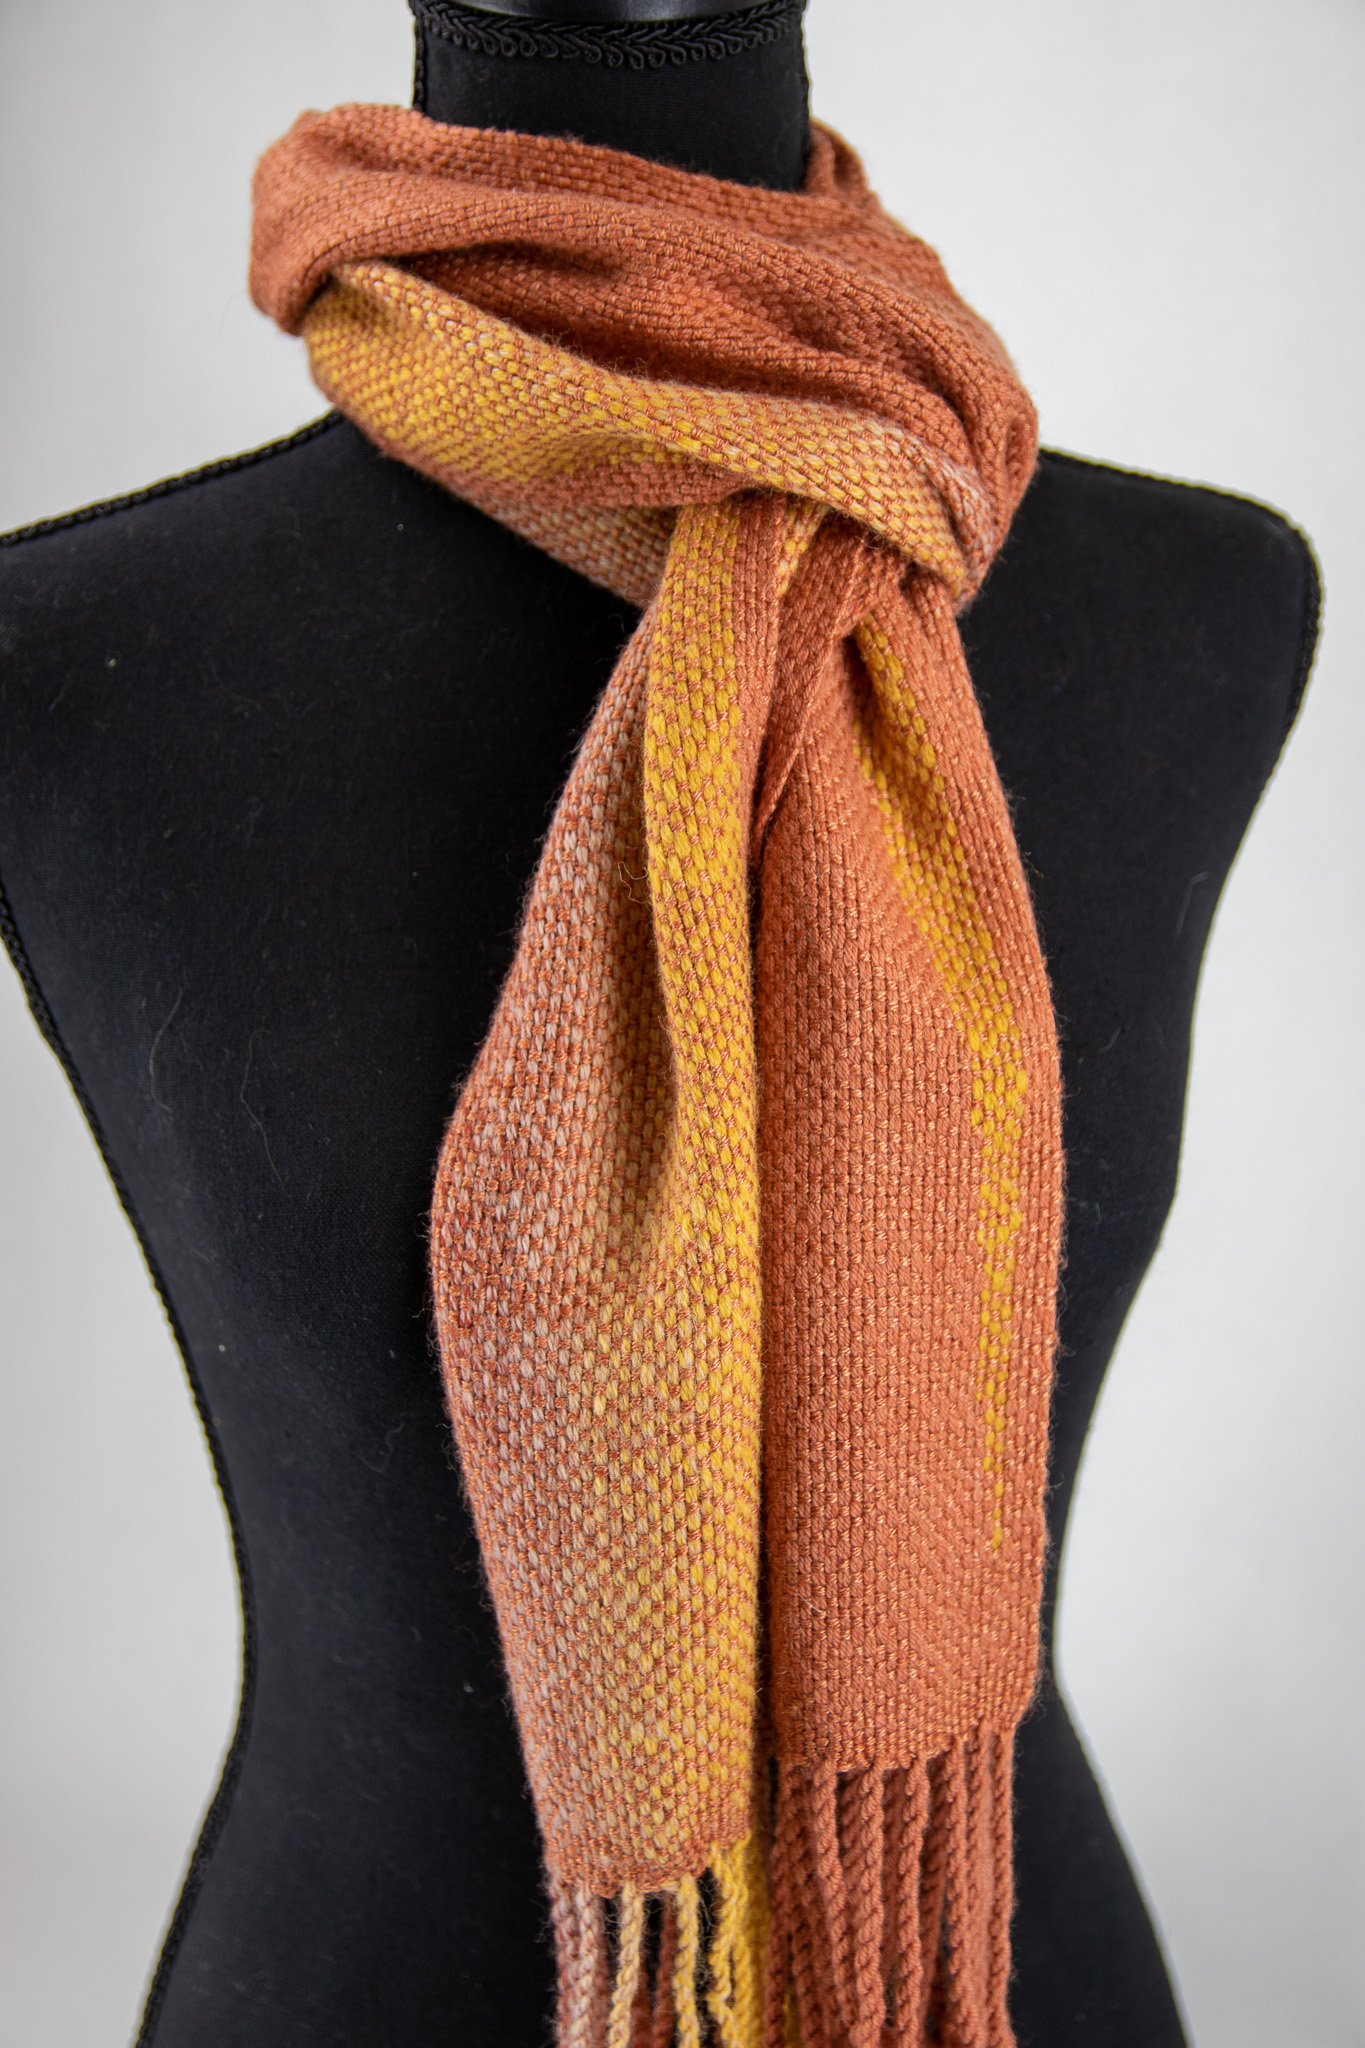
Clasped Warp Weaving on a Rigid Heddle Loom
Posted by Elizabeth on Jun 29th 2023
All loom types, whether it’s rigid heddle, table, or floor, have their pros and cons. At first glance rigid heddle looms might seem limited in the complex designs and patterns it can create. This limitation can be mitigated with pickup sticks and heddle rods. One technique that is actually easier to accomplish on a rigid heddle loom than a multi-shaft table or floor loom is clasped-warp. Yes, you read that right - warp. Clasped-weft is not uncommon, but tackling this method of joining different colors within the warp can be daunting.
The direct warping method for rigid heddle looms makes creating a clasped-warp far easier than on a multishaft floor or table loom, so in the case of clasped-warp, rigid heddles have the advantage.
This project in particular requires a lot of planning, so we filmed a video of the warping process to explain visually how to design your clasped warp as well as some tips/tricks to make the warping process smoother.
If you’re ready to take the challenge, here’s what you need!

Equipment Needed
- Rigid Heddle loom, at least 10” weaving width
- 8 dent reed
- Double bobbin slim boat shuttle**, 2 bobbins (Can also use a stick shuttle wound with two strands of yarn held together OR a thicker weft yarn, whichever is your preference!)
- Fringe twister
**Standard boat shuttles are too tall for the shed on a rigid heddle, so we recommend using a slim one. You can find that here.
Yarns
Warp: KFI Collection Painted Desert, Mojave ~ 223 ; Jaggerspun Kokadjo, Sunbaked Clay ~ 223
Weft: Jaggerspun Zephyr, Rust ~ 445 yards
Setts
Warp: 8 epi (80 ends total)
Weft: ~ 10 ppi
Dimensions (approximate)
Width in reed: 9.6”
Woven length: 80”
Finished size: ~ 8.5” x ~ 76” (including 4.5” of fringe on each side)
Notes: When direct warping clasped-warp, you must thread both slots and holes to create doubled strands that allow the other working yarn to be looped into it.
Warp Order
To achieve the gradual slope design, Amy threaded 4 ends of Sunbaked Clay, then warped a clasped join at each point along the template that was around an inch apart for 72 ends and then ended with another 4 ends of Sunbaked Clay.
*Please See Video for a Visual Explanation*
Weft Order
After winding your double bobbin shuttle with Jaggerspun Zephyr in rust, weave until you reach the end of your warp design. Be sure to leave room for fringe if you would like.
Video
We hope this project is a fun challenge in seeing just what you can do with a rigid heddle loom!
Happy weaving!

